
A complete guide
Items
Items are essential in Mallcomm as almost everything you add to Mallcomm is considered one, it is where you assign it that makes the item what it is.
So if you are adding an offer, a job vacancy, centre handbook or even just a quick news update, it will be an item.
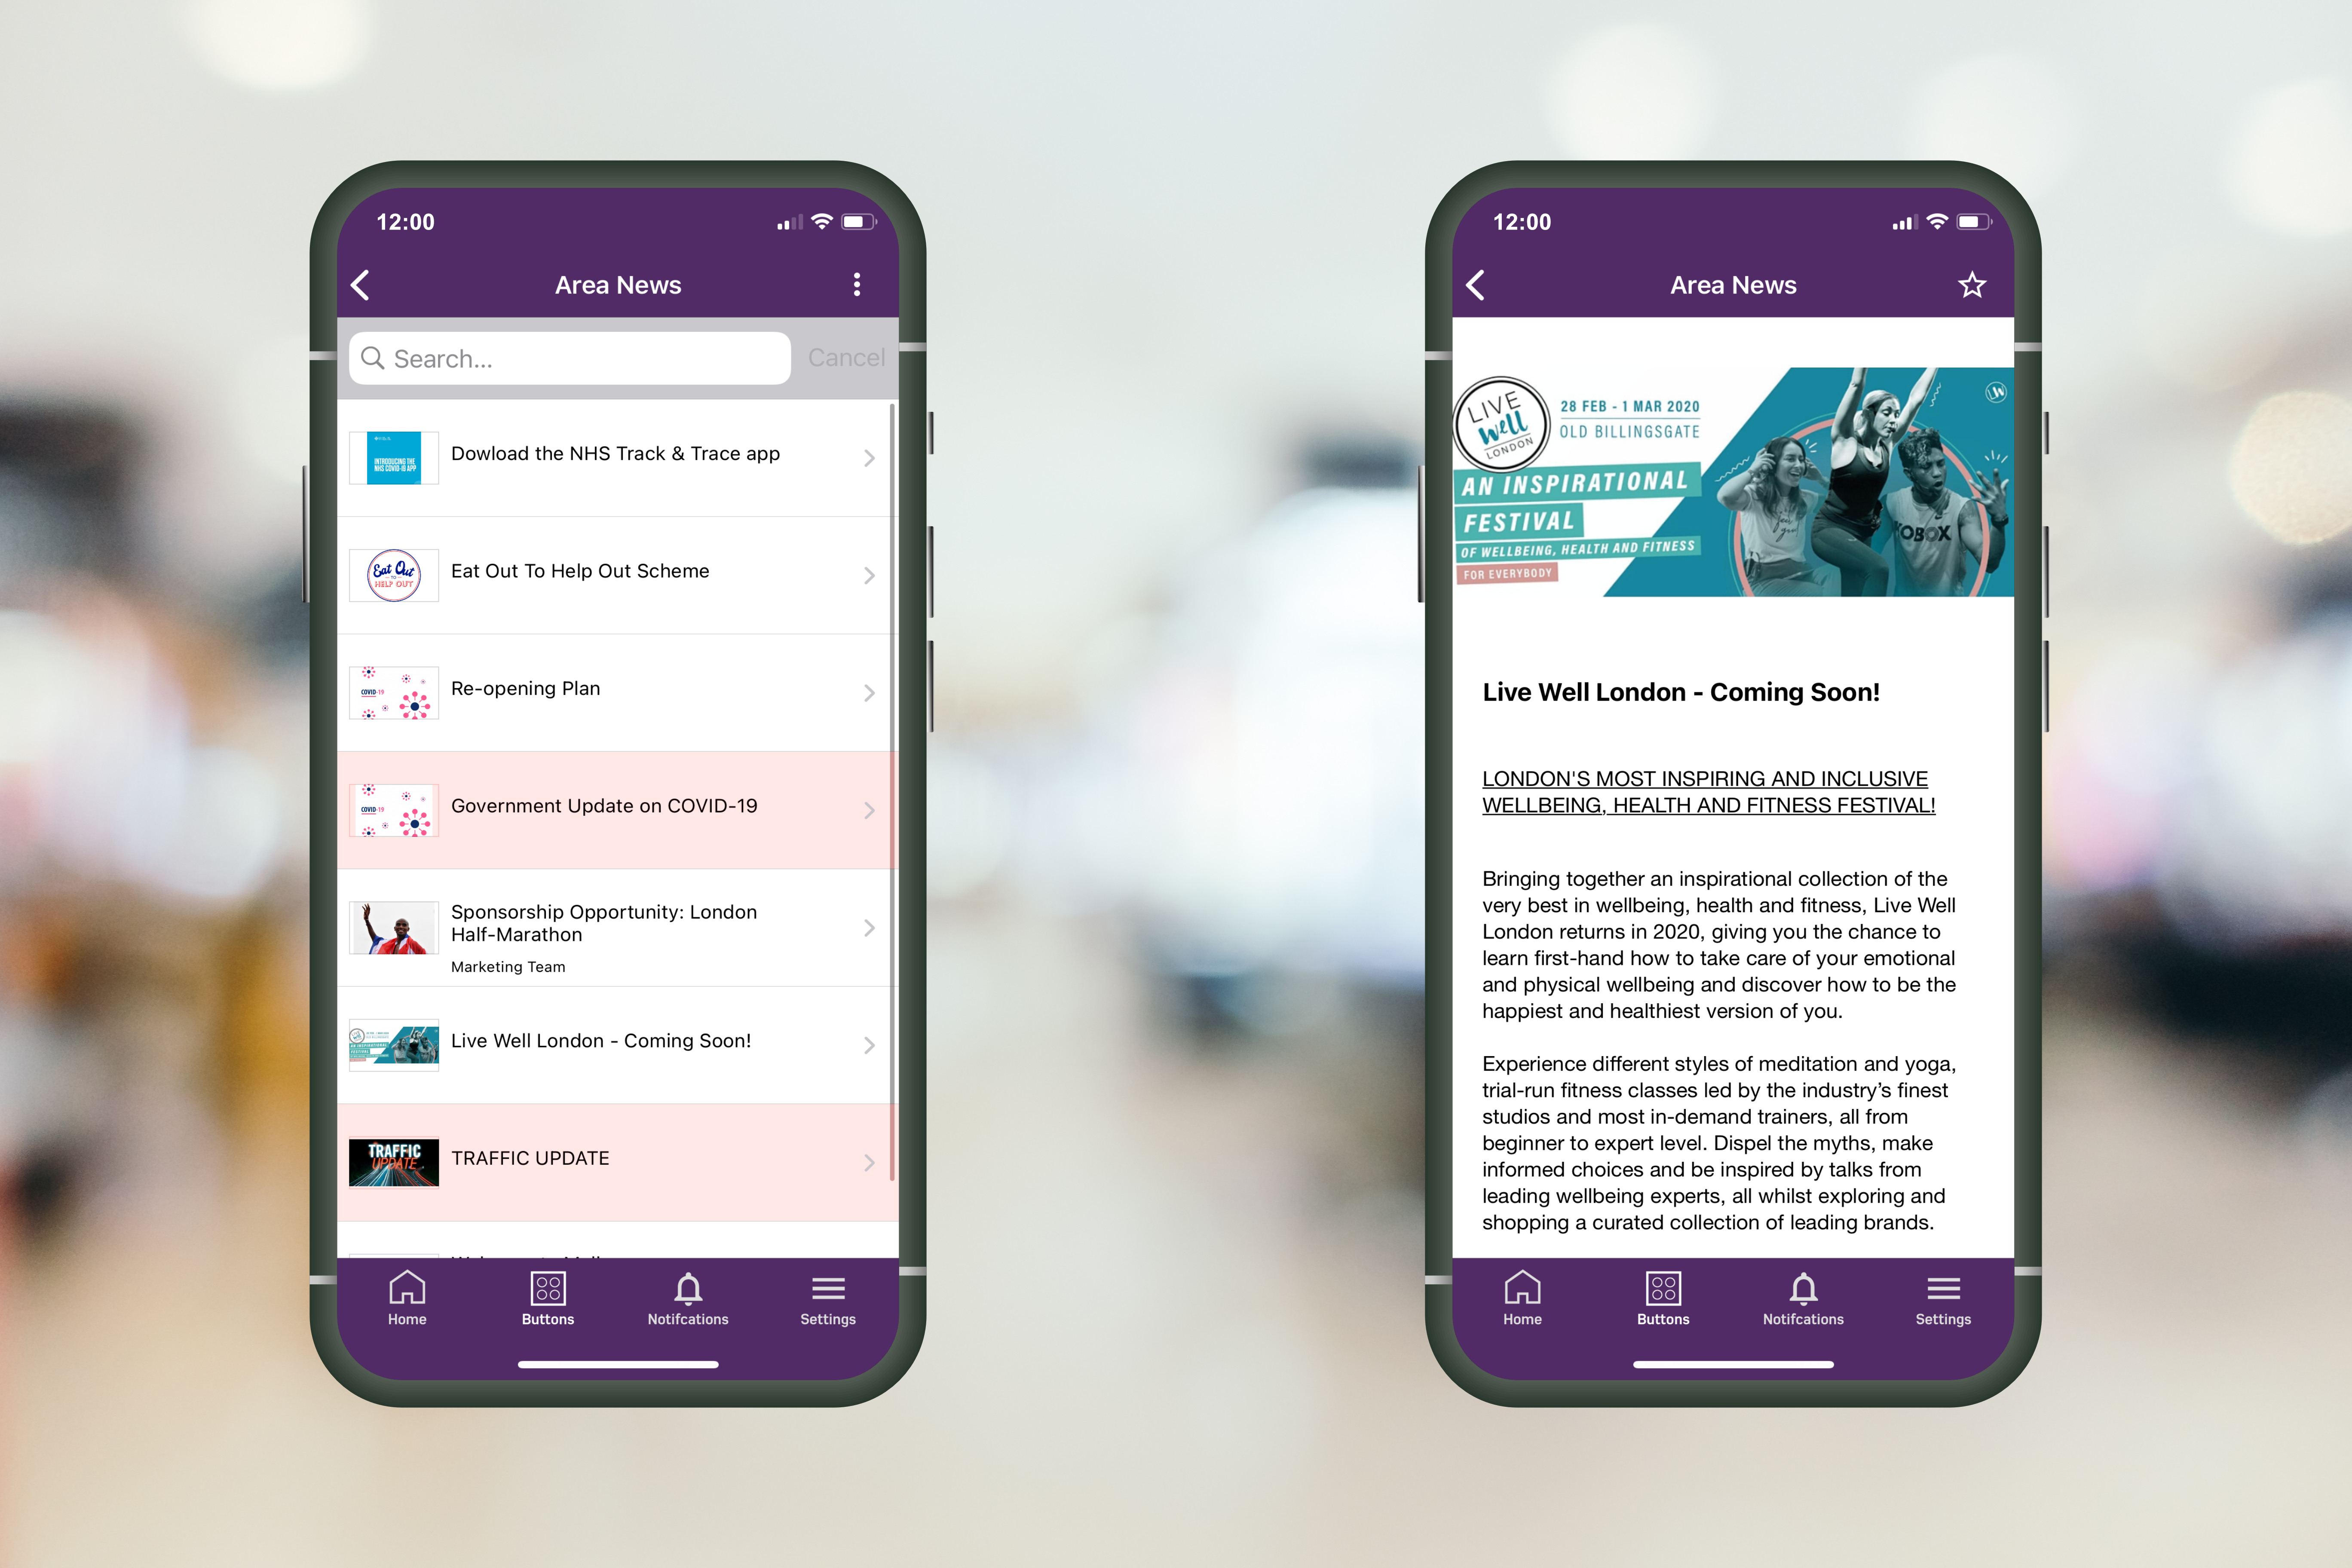
All Items overview
From the top navigation menu, if you select items -> All items, this is where you can see all the content in your app. If you are looking for something specific, you can use the filters to narrow your search. You can also type into the search field to filter by item name or store.
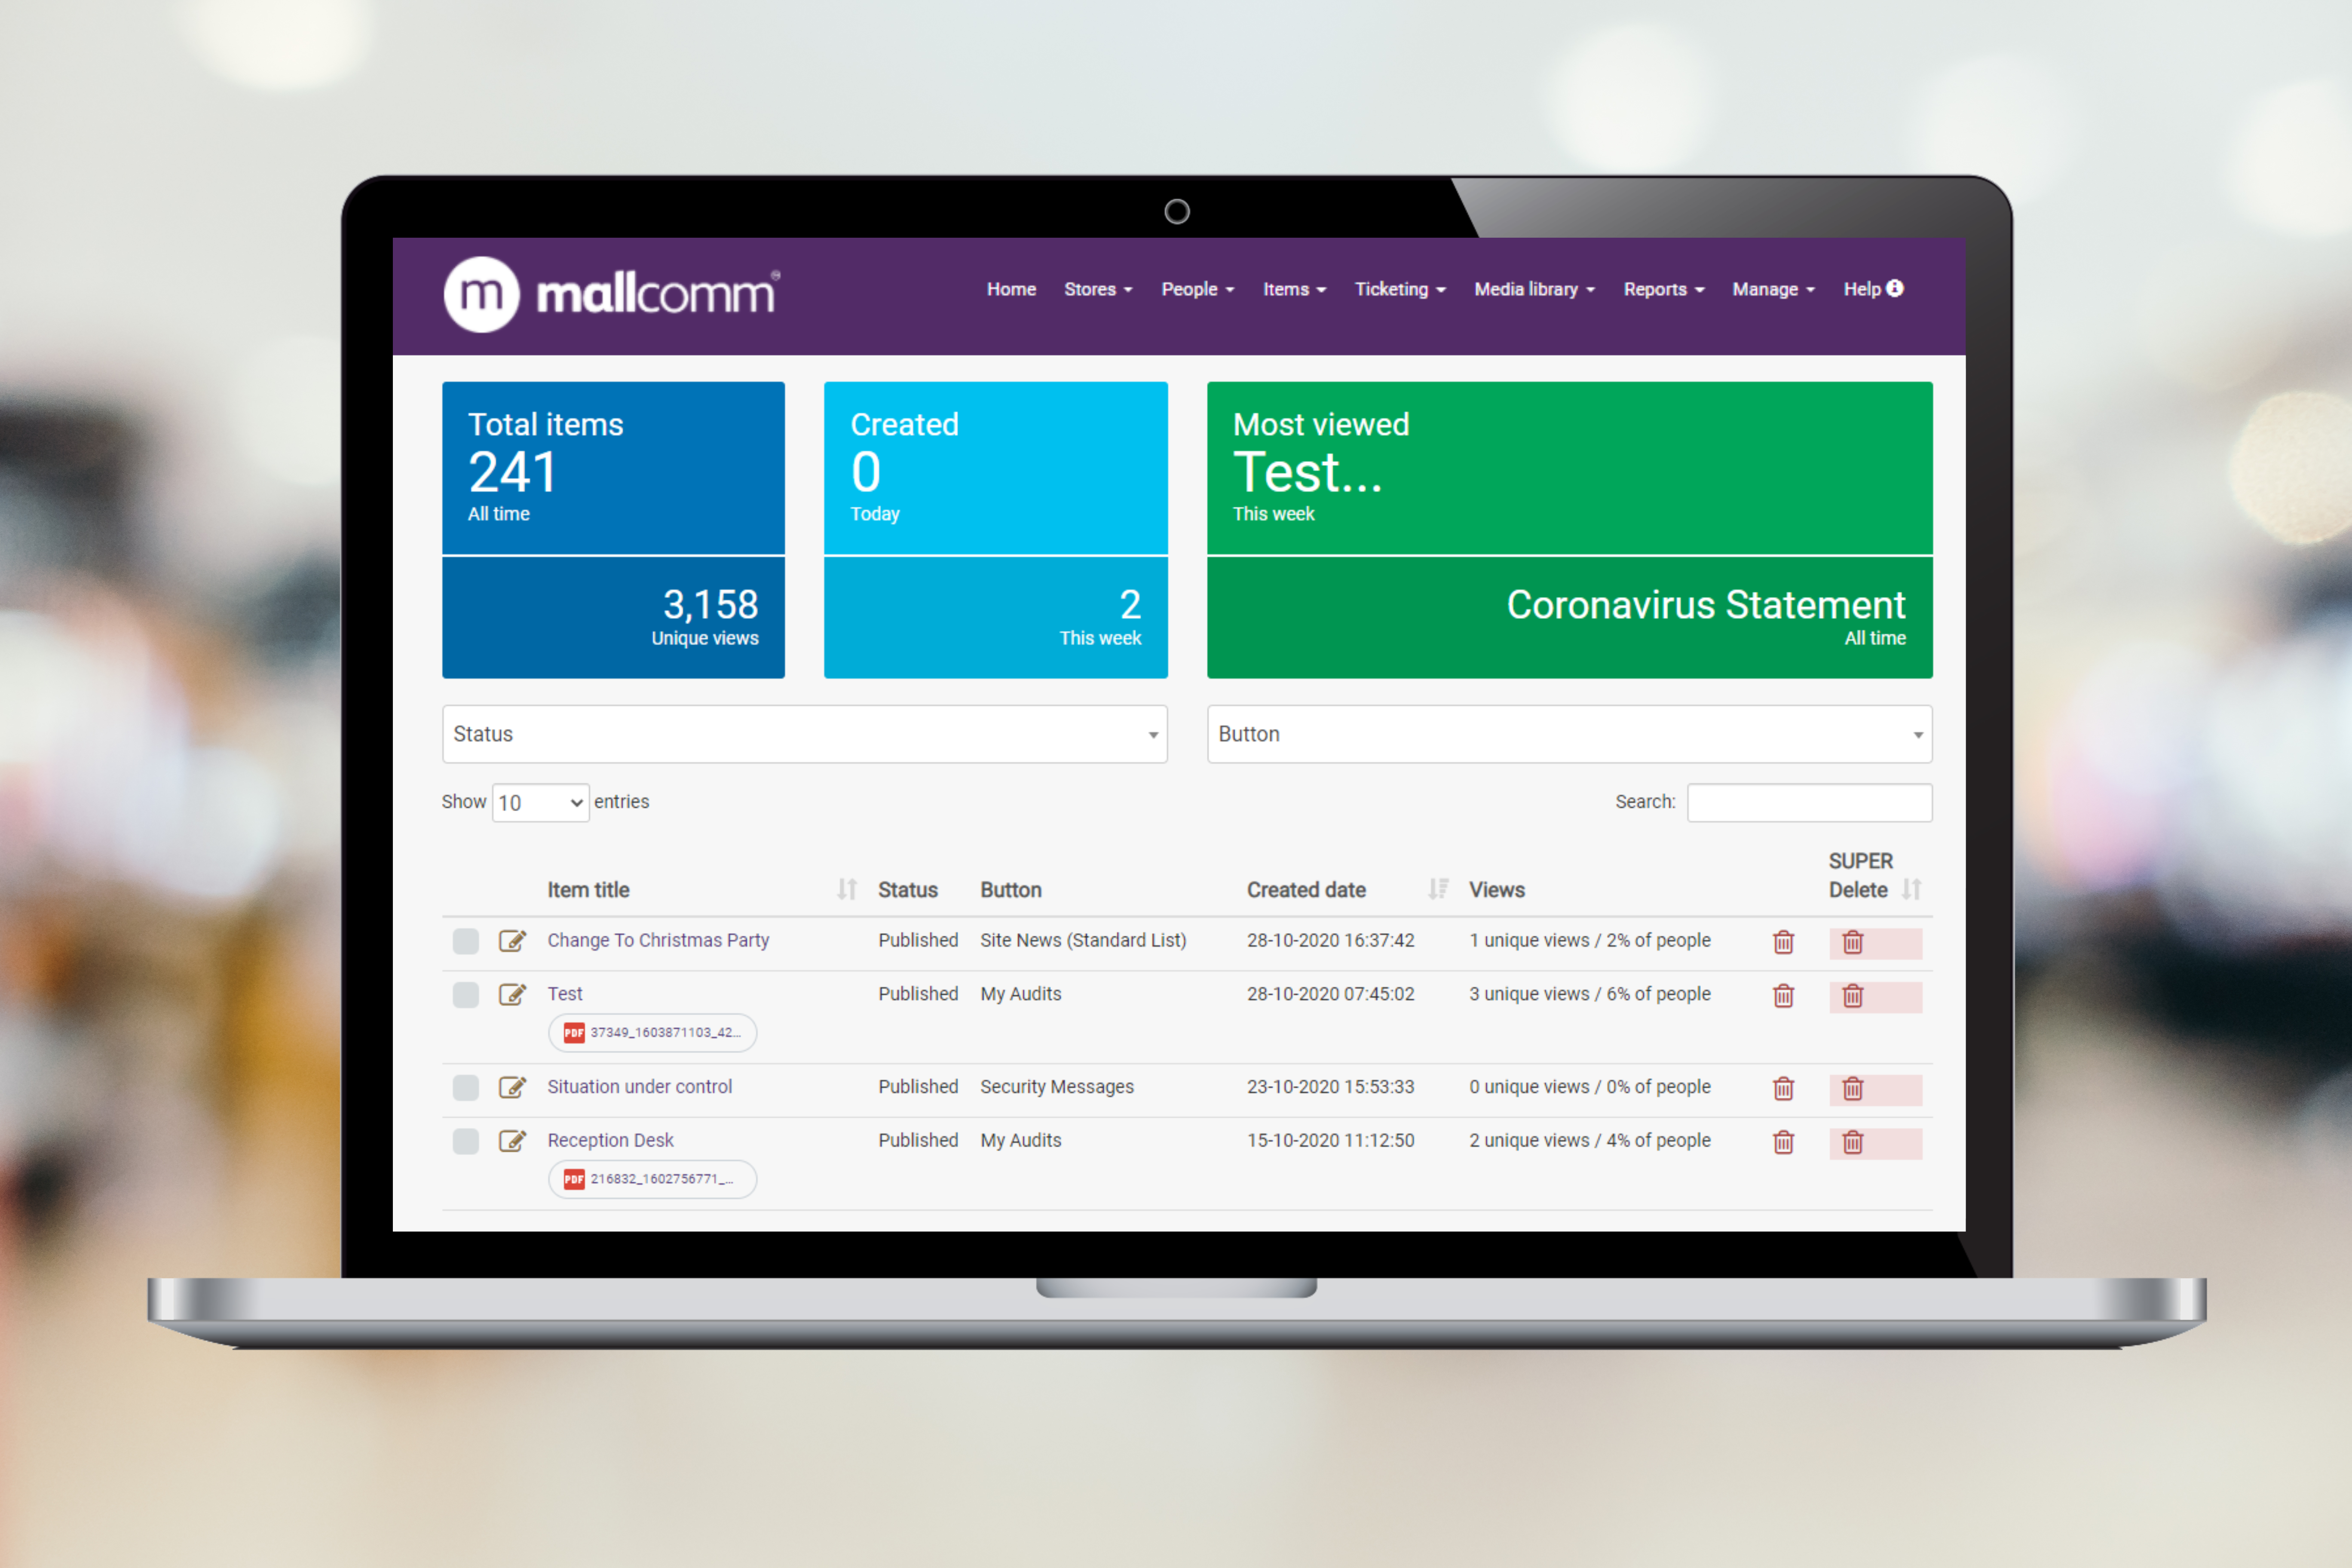
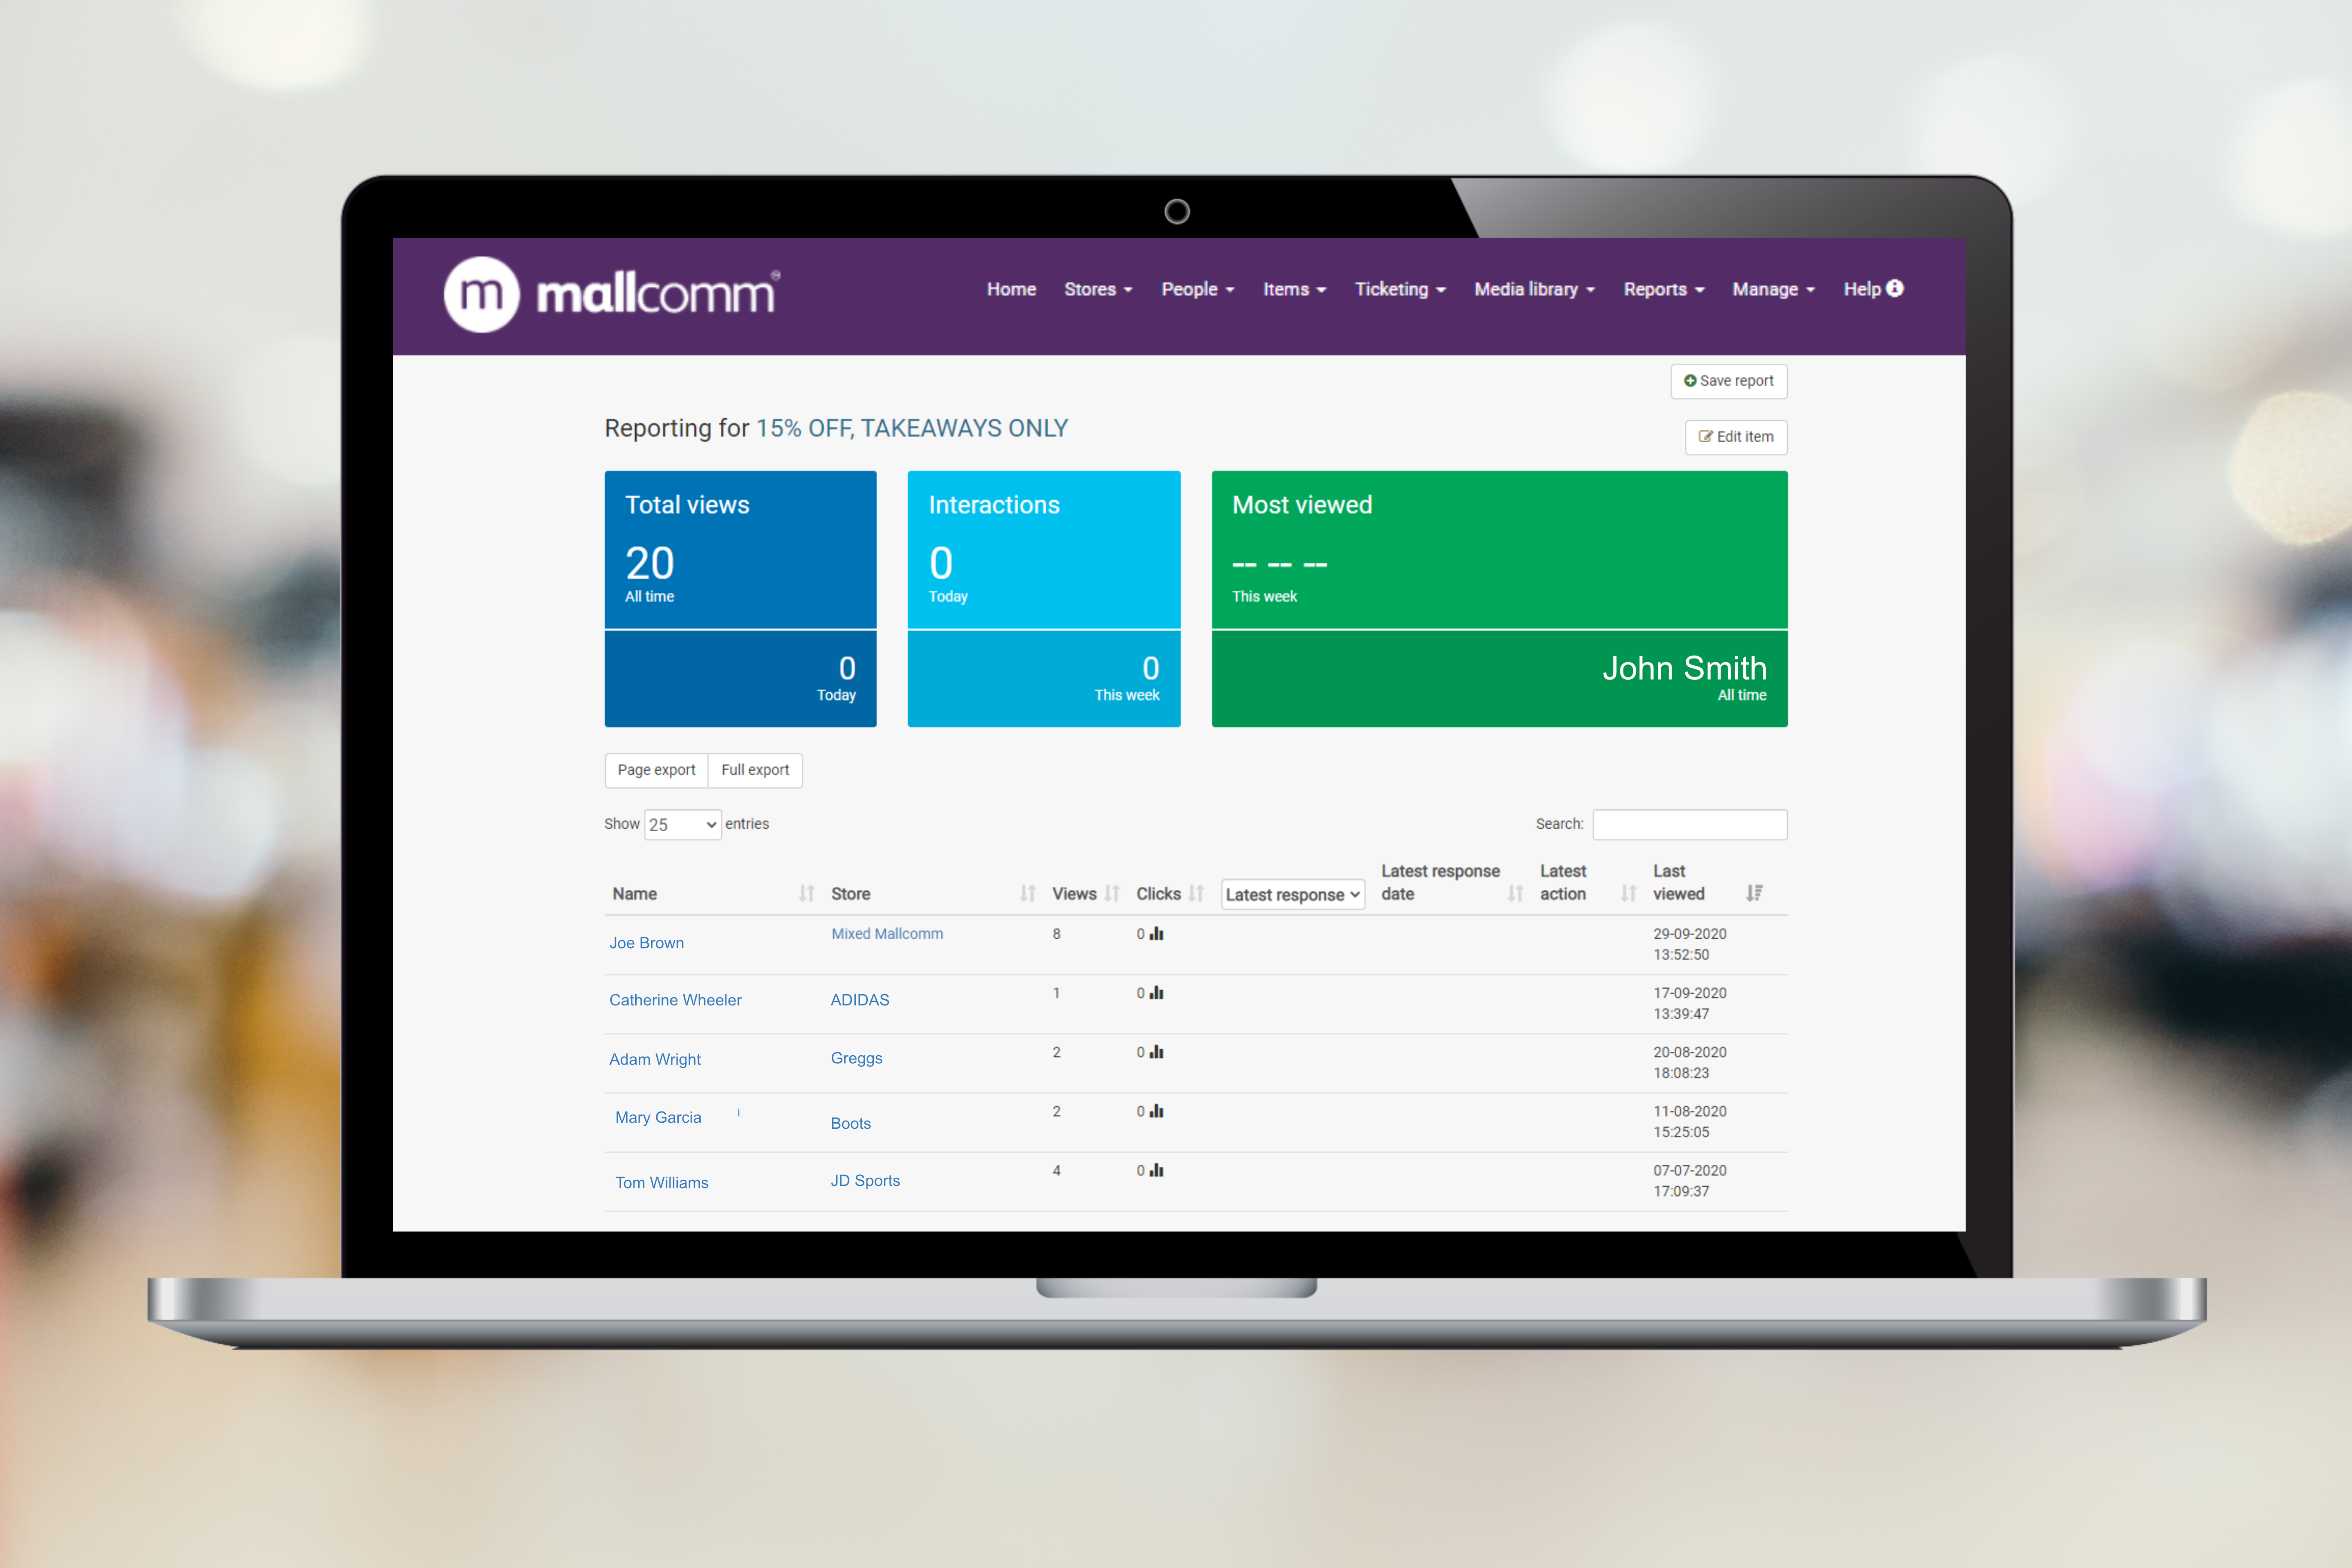
Item analytics
If you click on a specific item you can then see exactly who has looked at it, when they did and also if they pressed a response button.
This information can then be downloaded as a PDF or CSV file.
Adding an item to a standard list
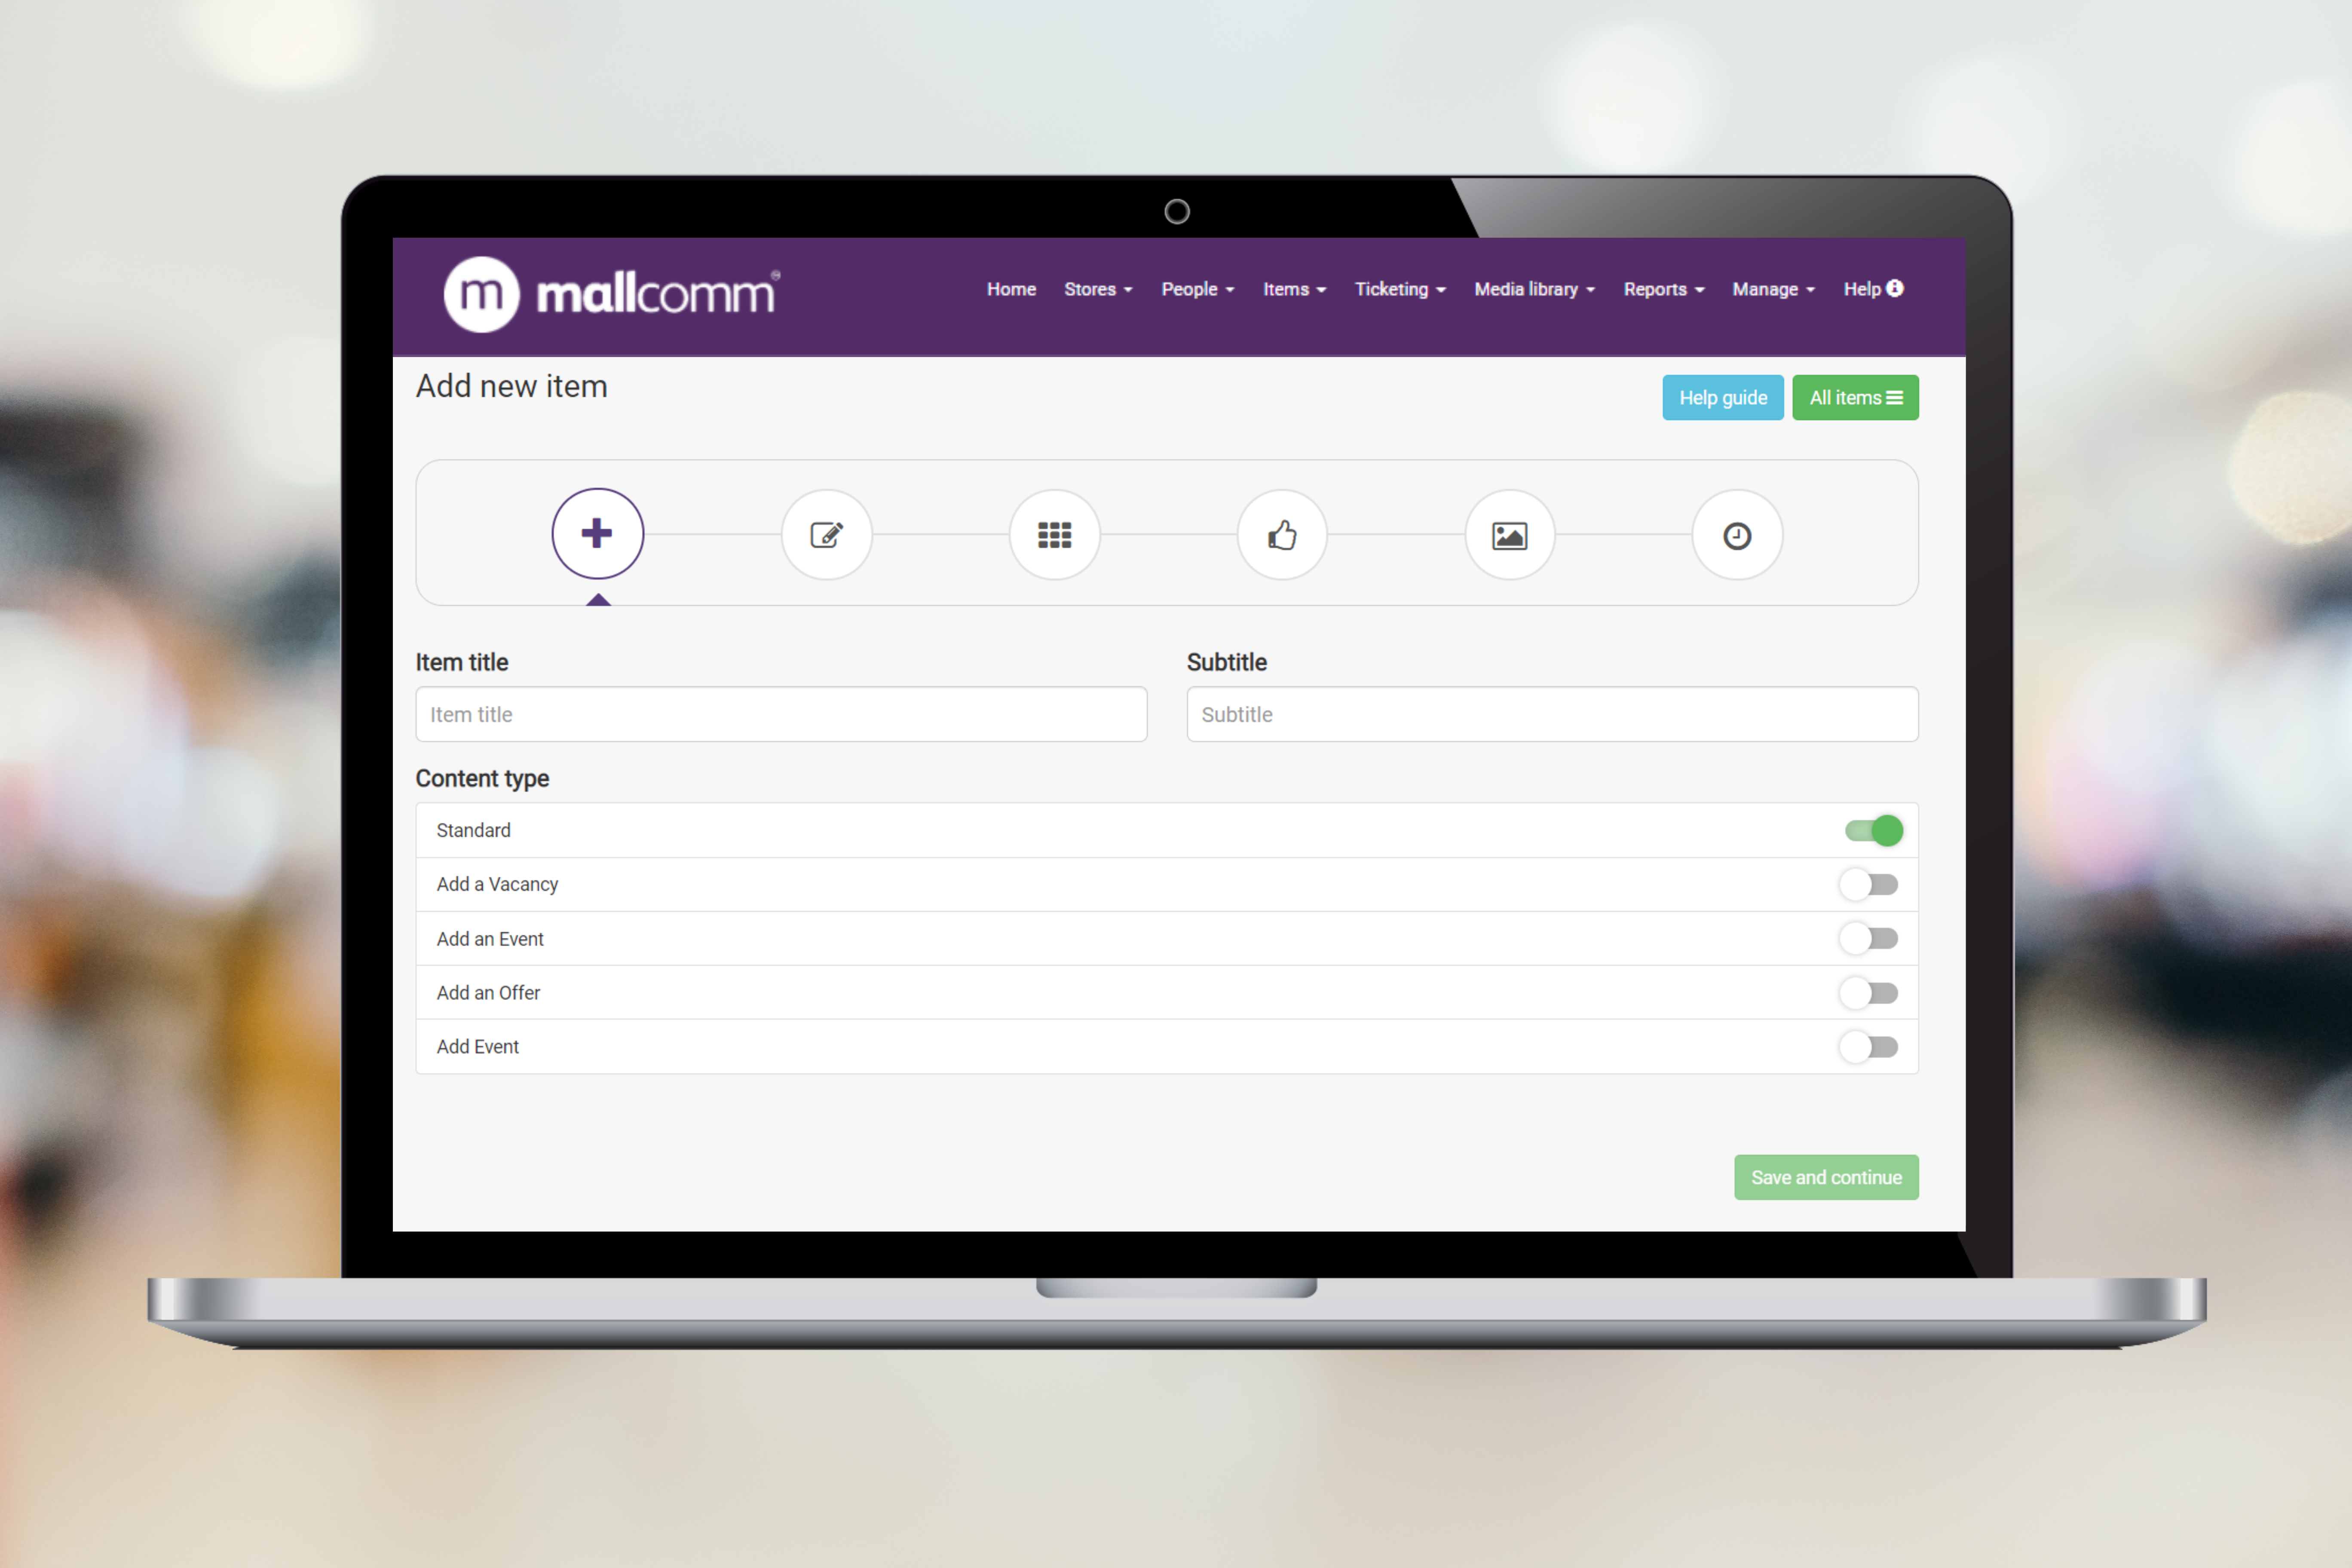
To add an item you can select “Add new item” from the items drop down and you will be taken to the walkthrough screens. It is important that as you move through the steps you remember to always press “Save and continue” otherwise the changes will not be saved.
The first step is to select your template, add a title and subtitle. Once you have done this press “Save and Continue”.
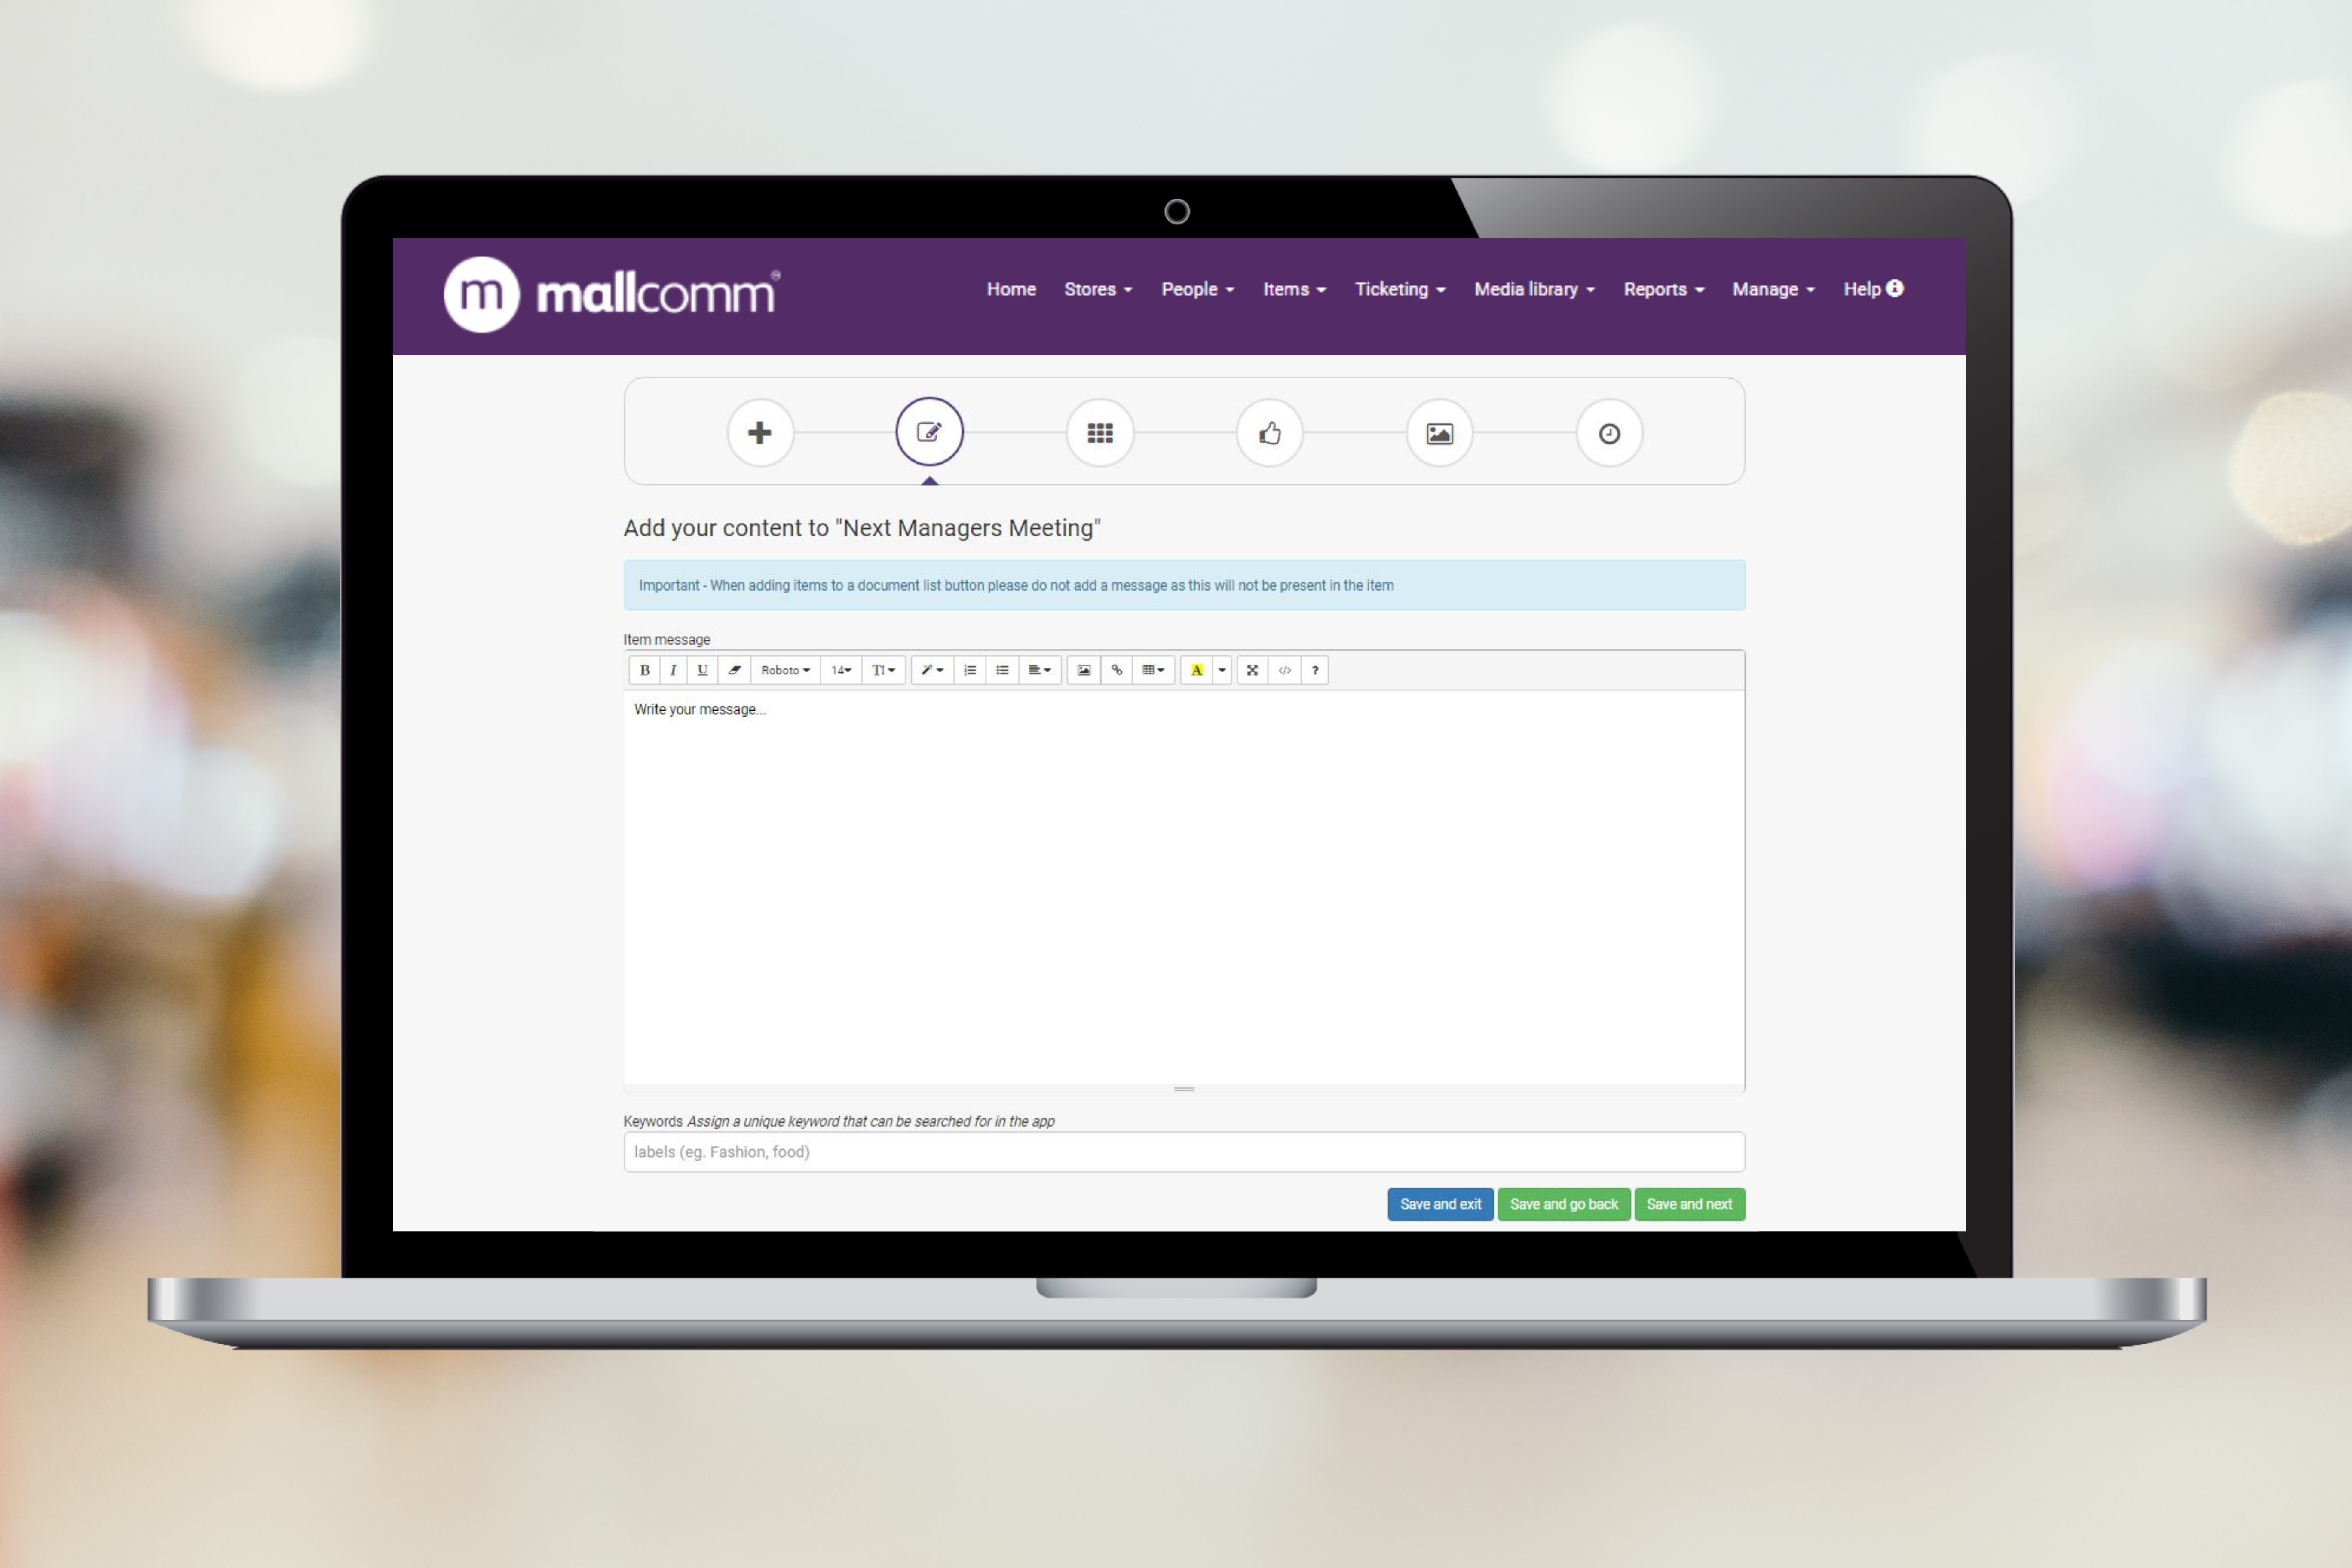
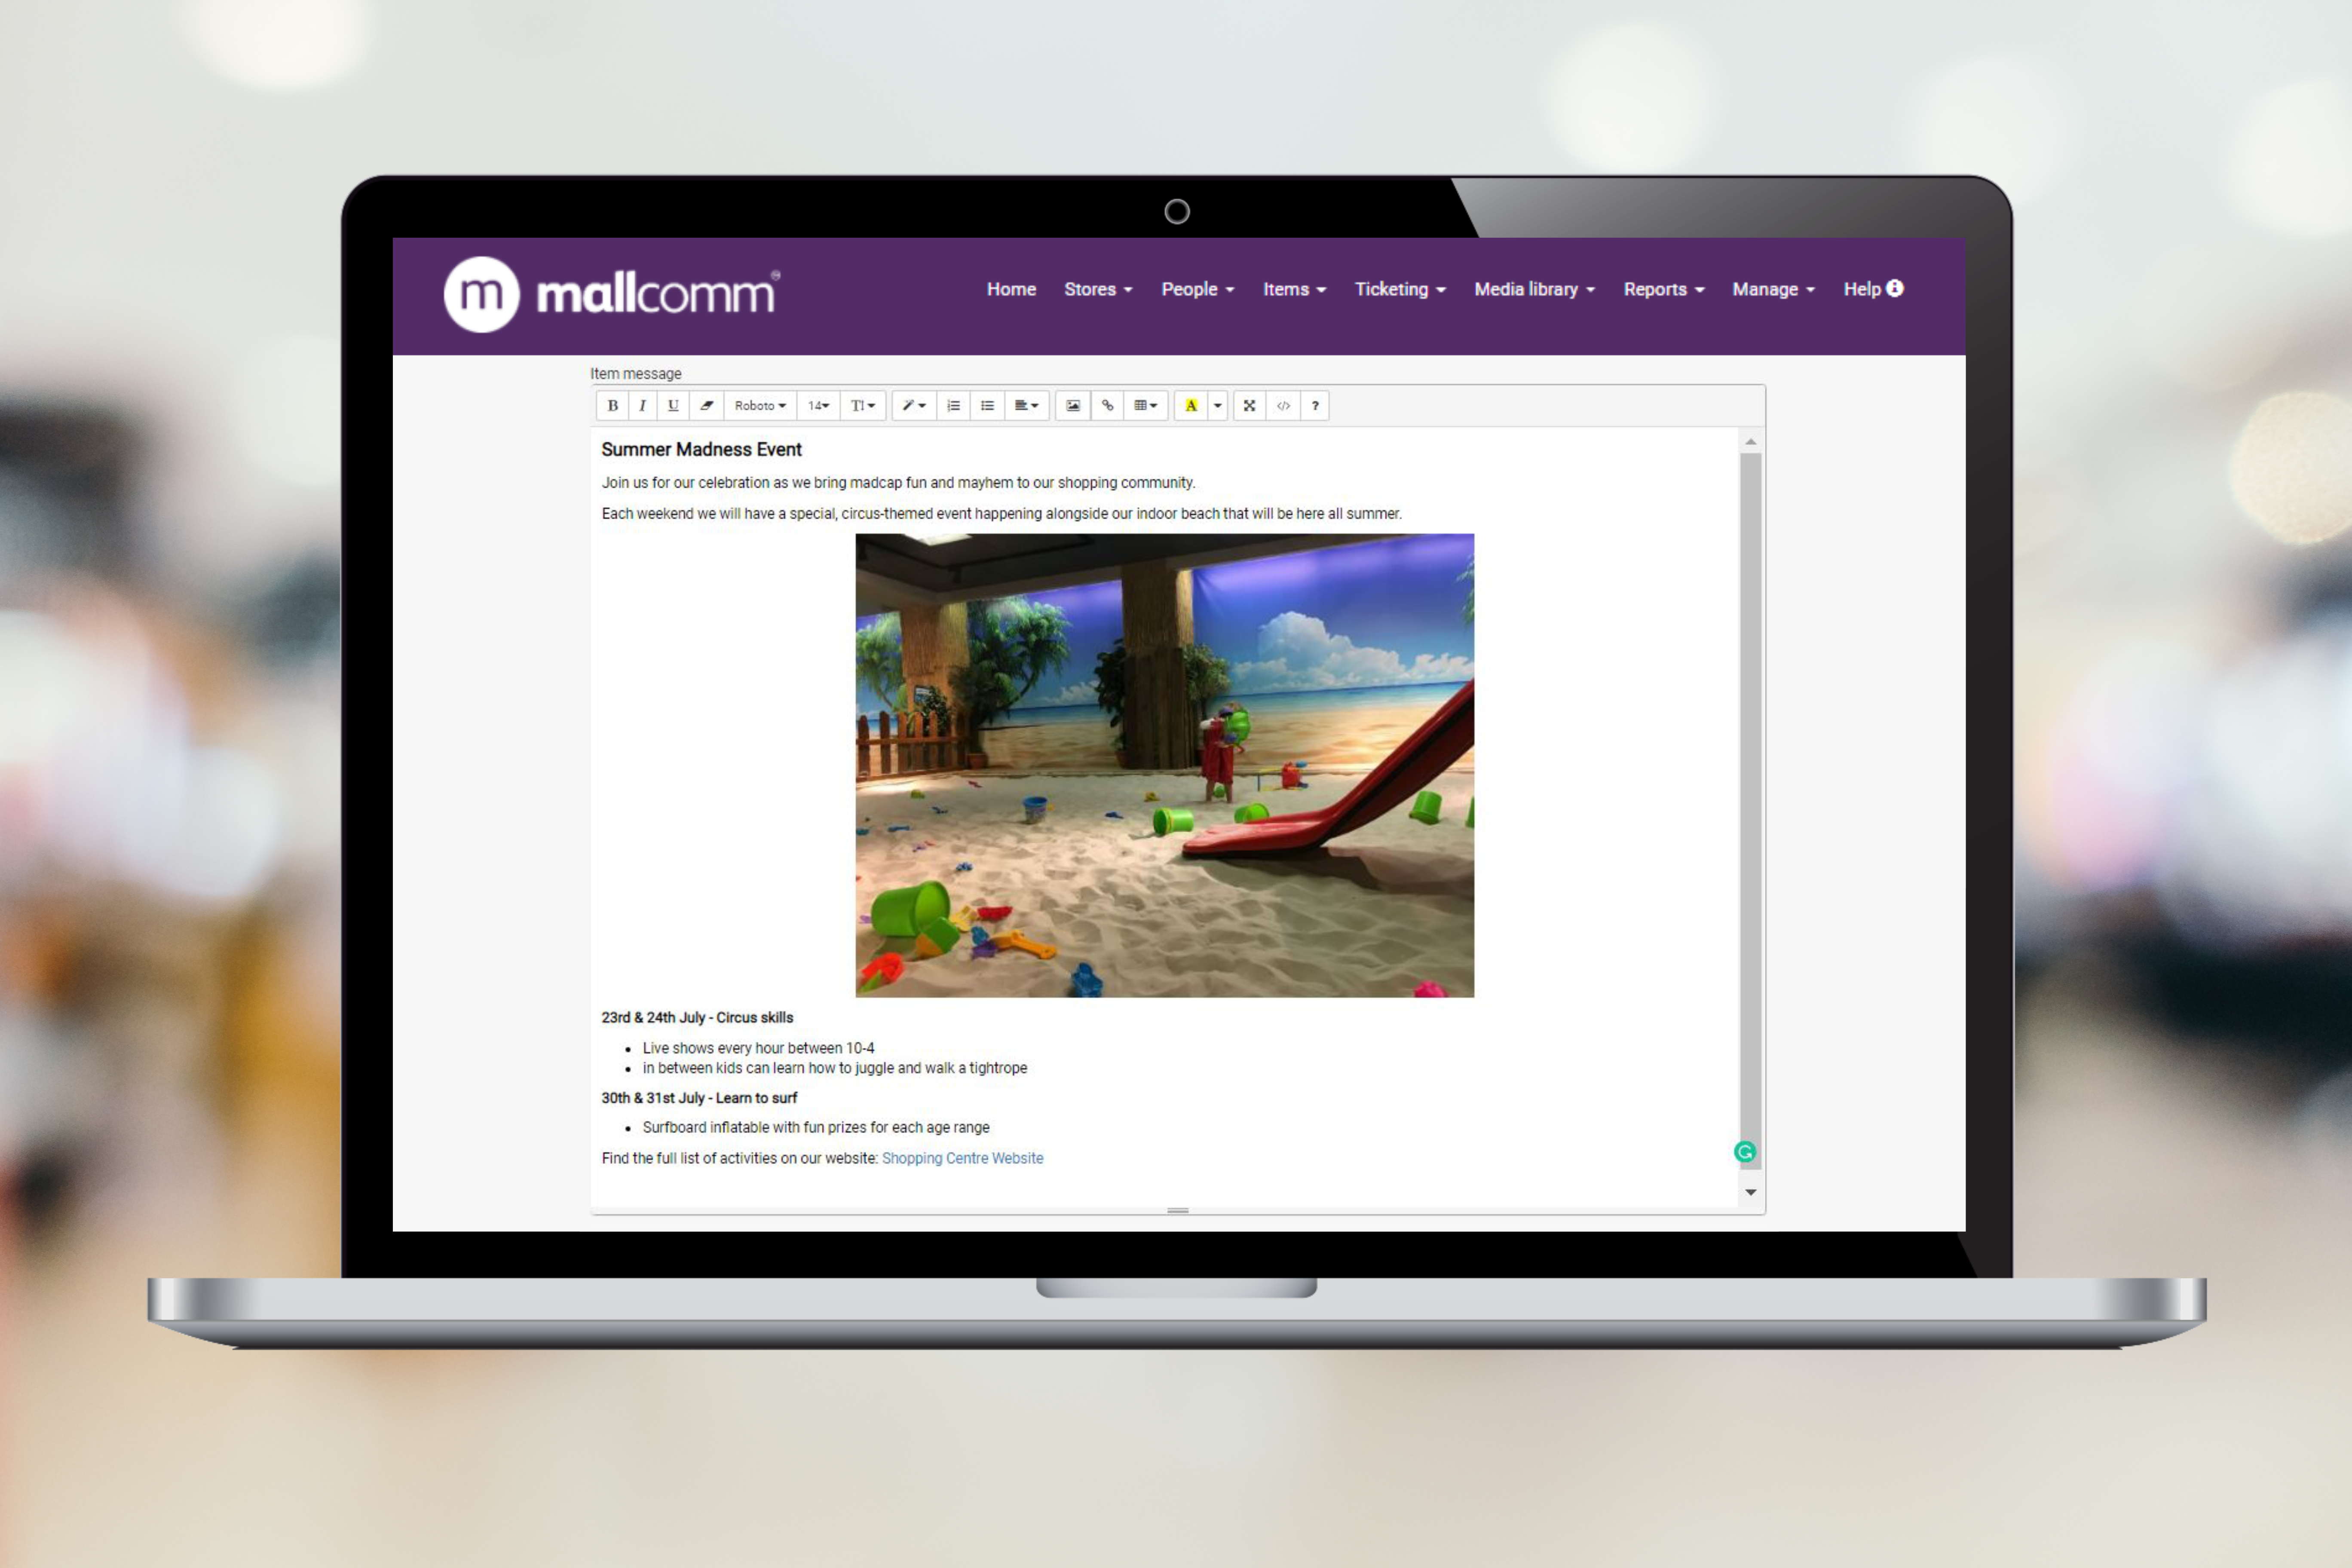
Next is the content creator, this is where you can build your item. The best way to create great-looking items is to build them from scratch in the content box.
There are lots of features including the ability to customise your font, add images, numbered or bullet point lists, hyperlink to external websites and much more.
Adding an image in the content editor
You can upload an image using the add image icon in the content editor. Just press the add picture button and upload your image. Please bear in mind that the image needs to be a small file, ideally below 50kbs. We recommend using an image editor to resize the file to a maximum width of 600px wide before uploading.
Other available formatting tips
As well as images and hyperlinks, it is possible to do many other tweaks to make your items look great.
Using the top toolbar you can add bulleted or numbered lists as well as change the text size if you wanted to break your item up with headings.
Using the highlight tool you can highlight specific parts of the text and with the code view tool, you can even embed your own snippets of HTML such as videos.
If you are using the code view, be sure to switch back to the standard view before pressing update and next.
Adding hyperlinks to an item
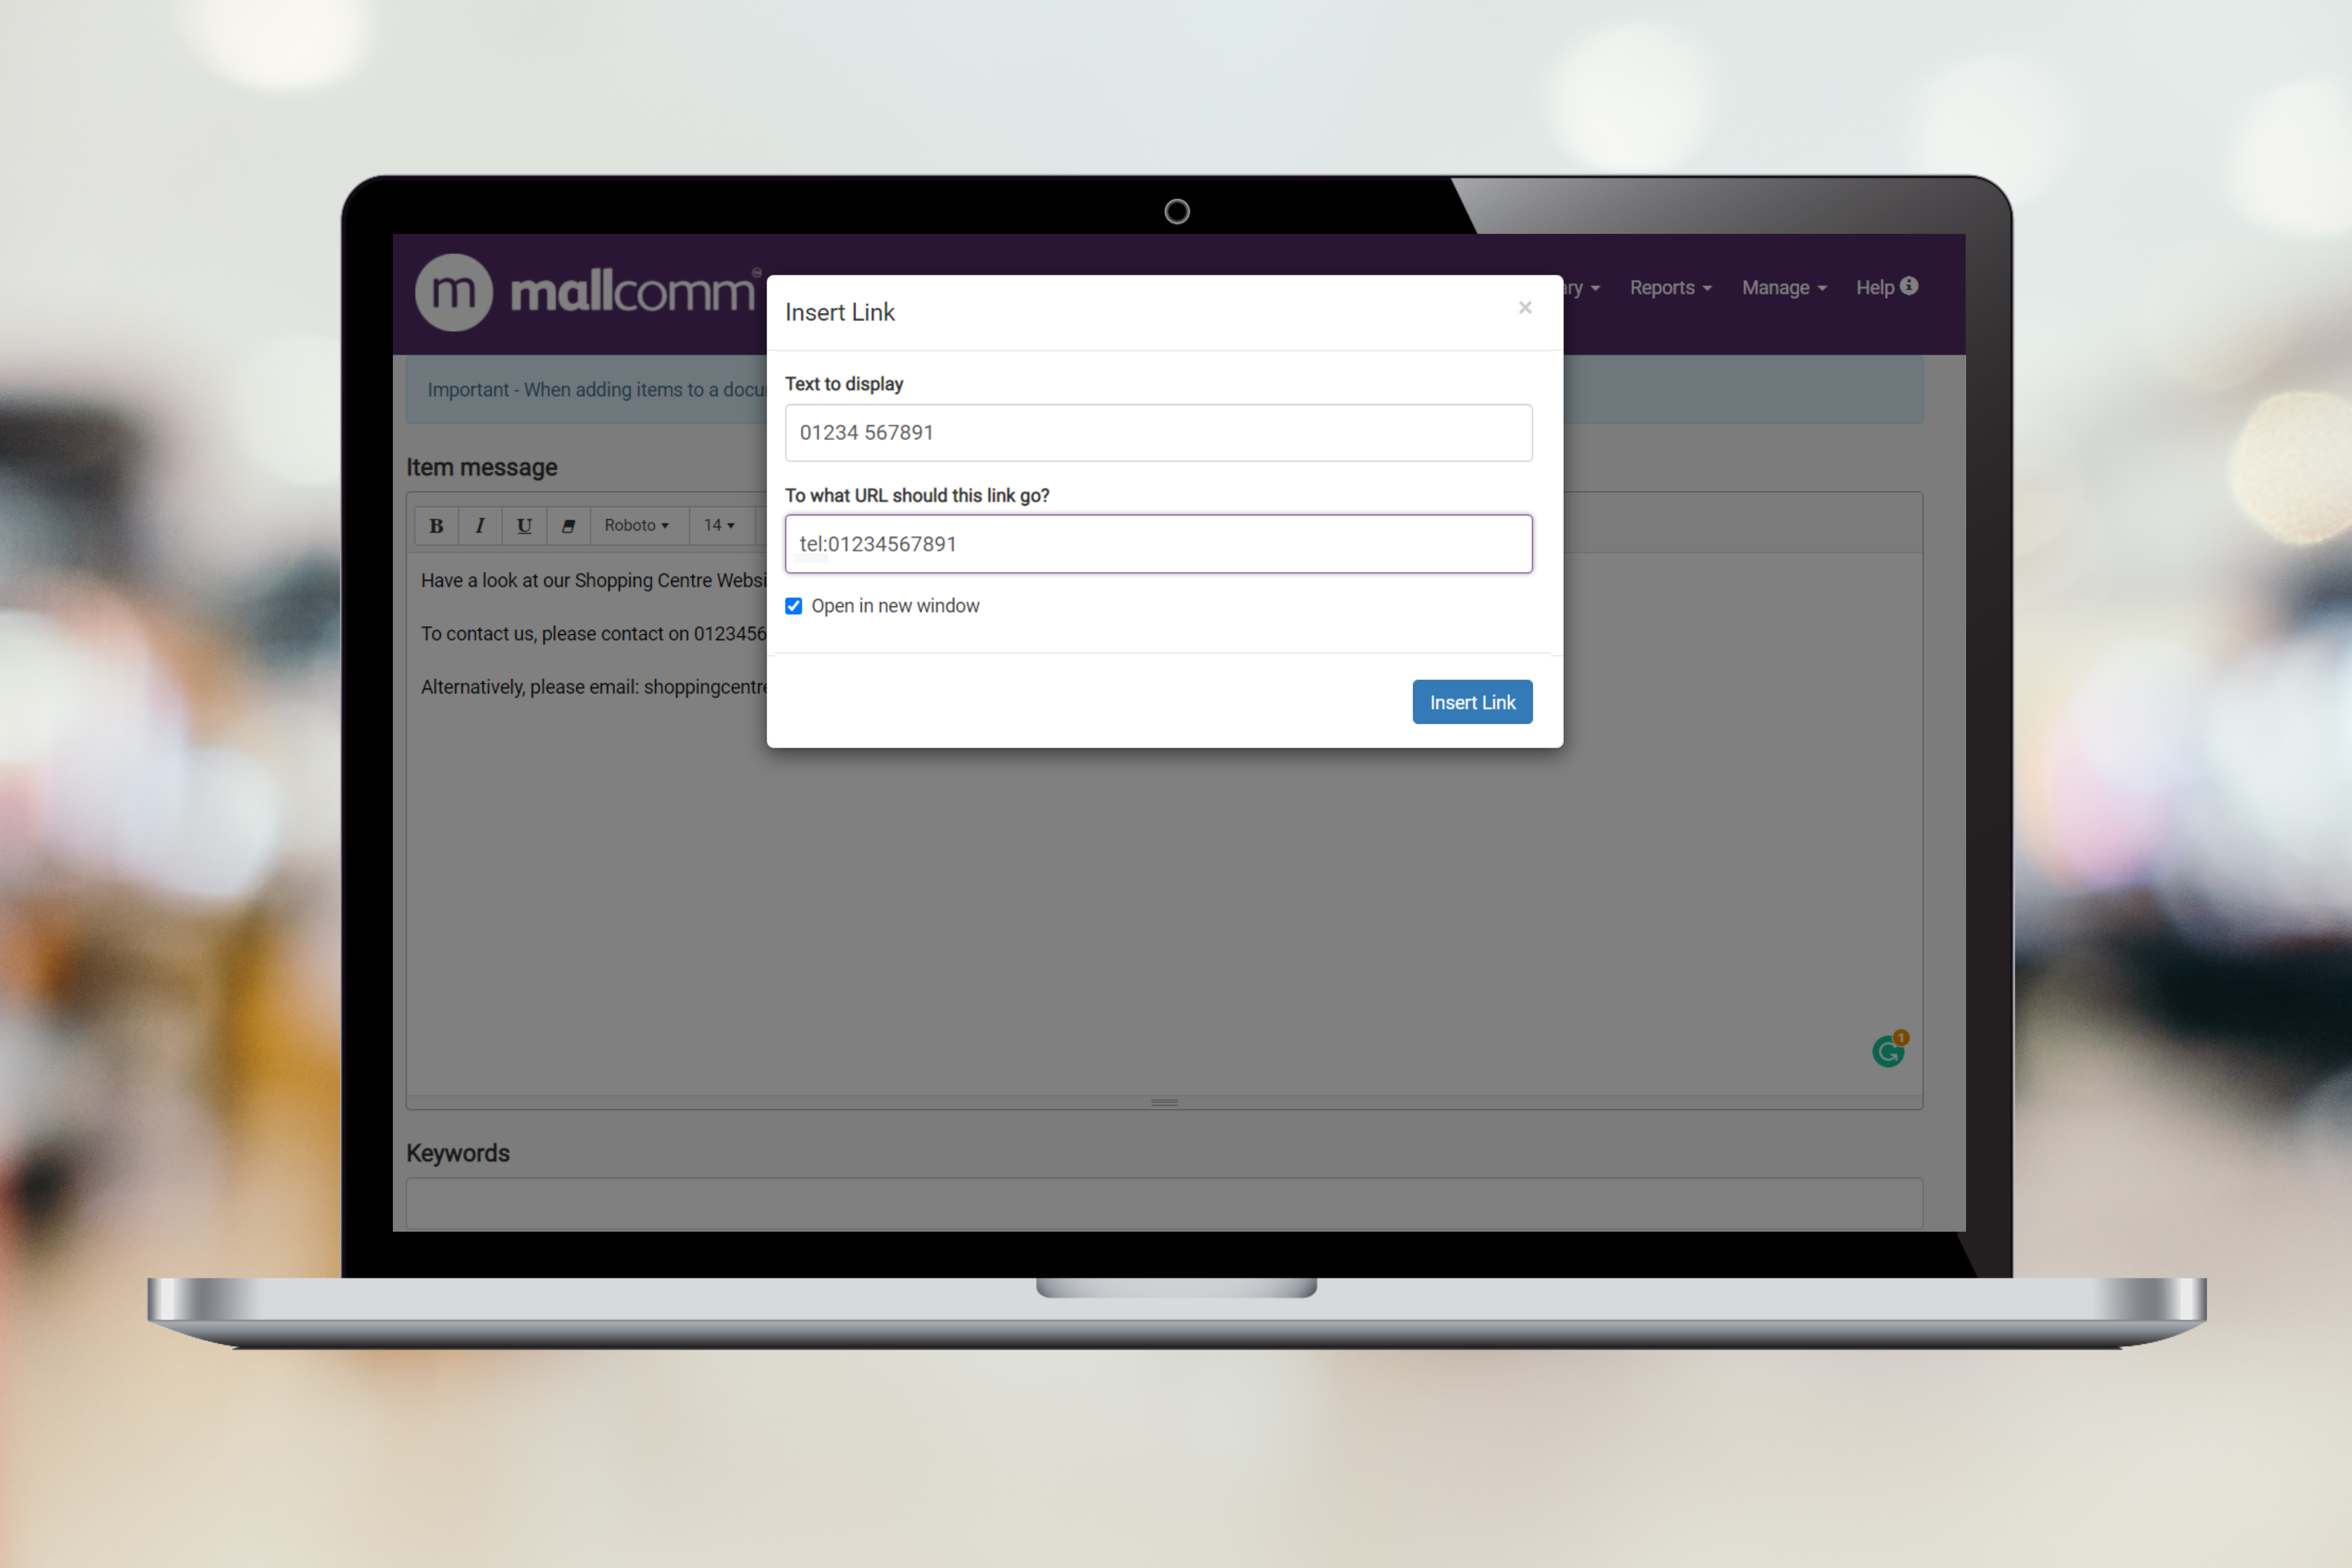
To link to an external website, an email address or to have a touch to dial phone number, you will need to use the hyperlink tool.
To create a hyperlink you will need to highlight what you wish to link, whether text, email or phone number and click the hyperlink icon.
You will then have a pop-up. Your highlighted text will pre-fill in the text to display field and you can enter the website you would like to link to in the field below.

If you want to add an email address or phone number you use the same tool, but instead of adding a website URL, you can add either mailto: or tel:.

Once you have added your item content, click “Save and next”.
Assigning to a button and an access level
The next step is setting where your item will appear and who can see it by assigning to a button and an access level.
When you assign a button and an access level, they will float to the top of the list so you can clearly see who will see the team and where they will see it.
When adding to a button, you can use the grey square to the left of the button name to reorder the push priority. This means that if a user has access to more than one button that the item is assigned to, if a push notification is sent taking a user to the item, they will view it in the button that is at the top of the priority.
For example, if you are adding an item as news and an offer at the same time, whichever is top in the list is where the user will go in the app when following a push notification.
Only people that are in the access level you select will be able to see your new item.

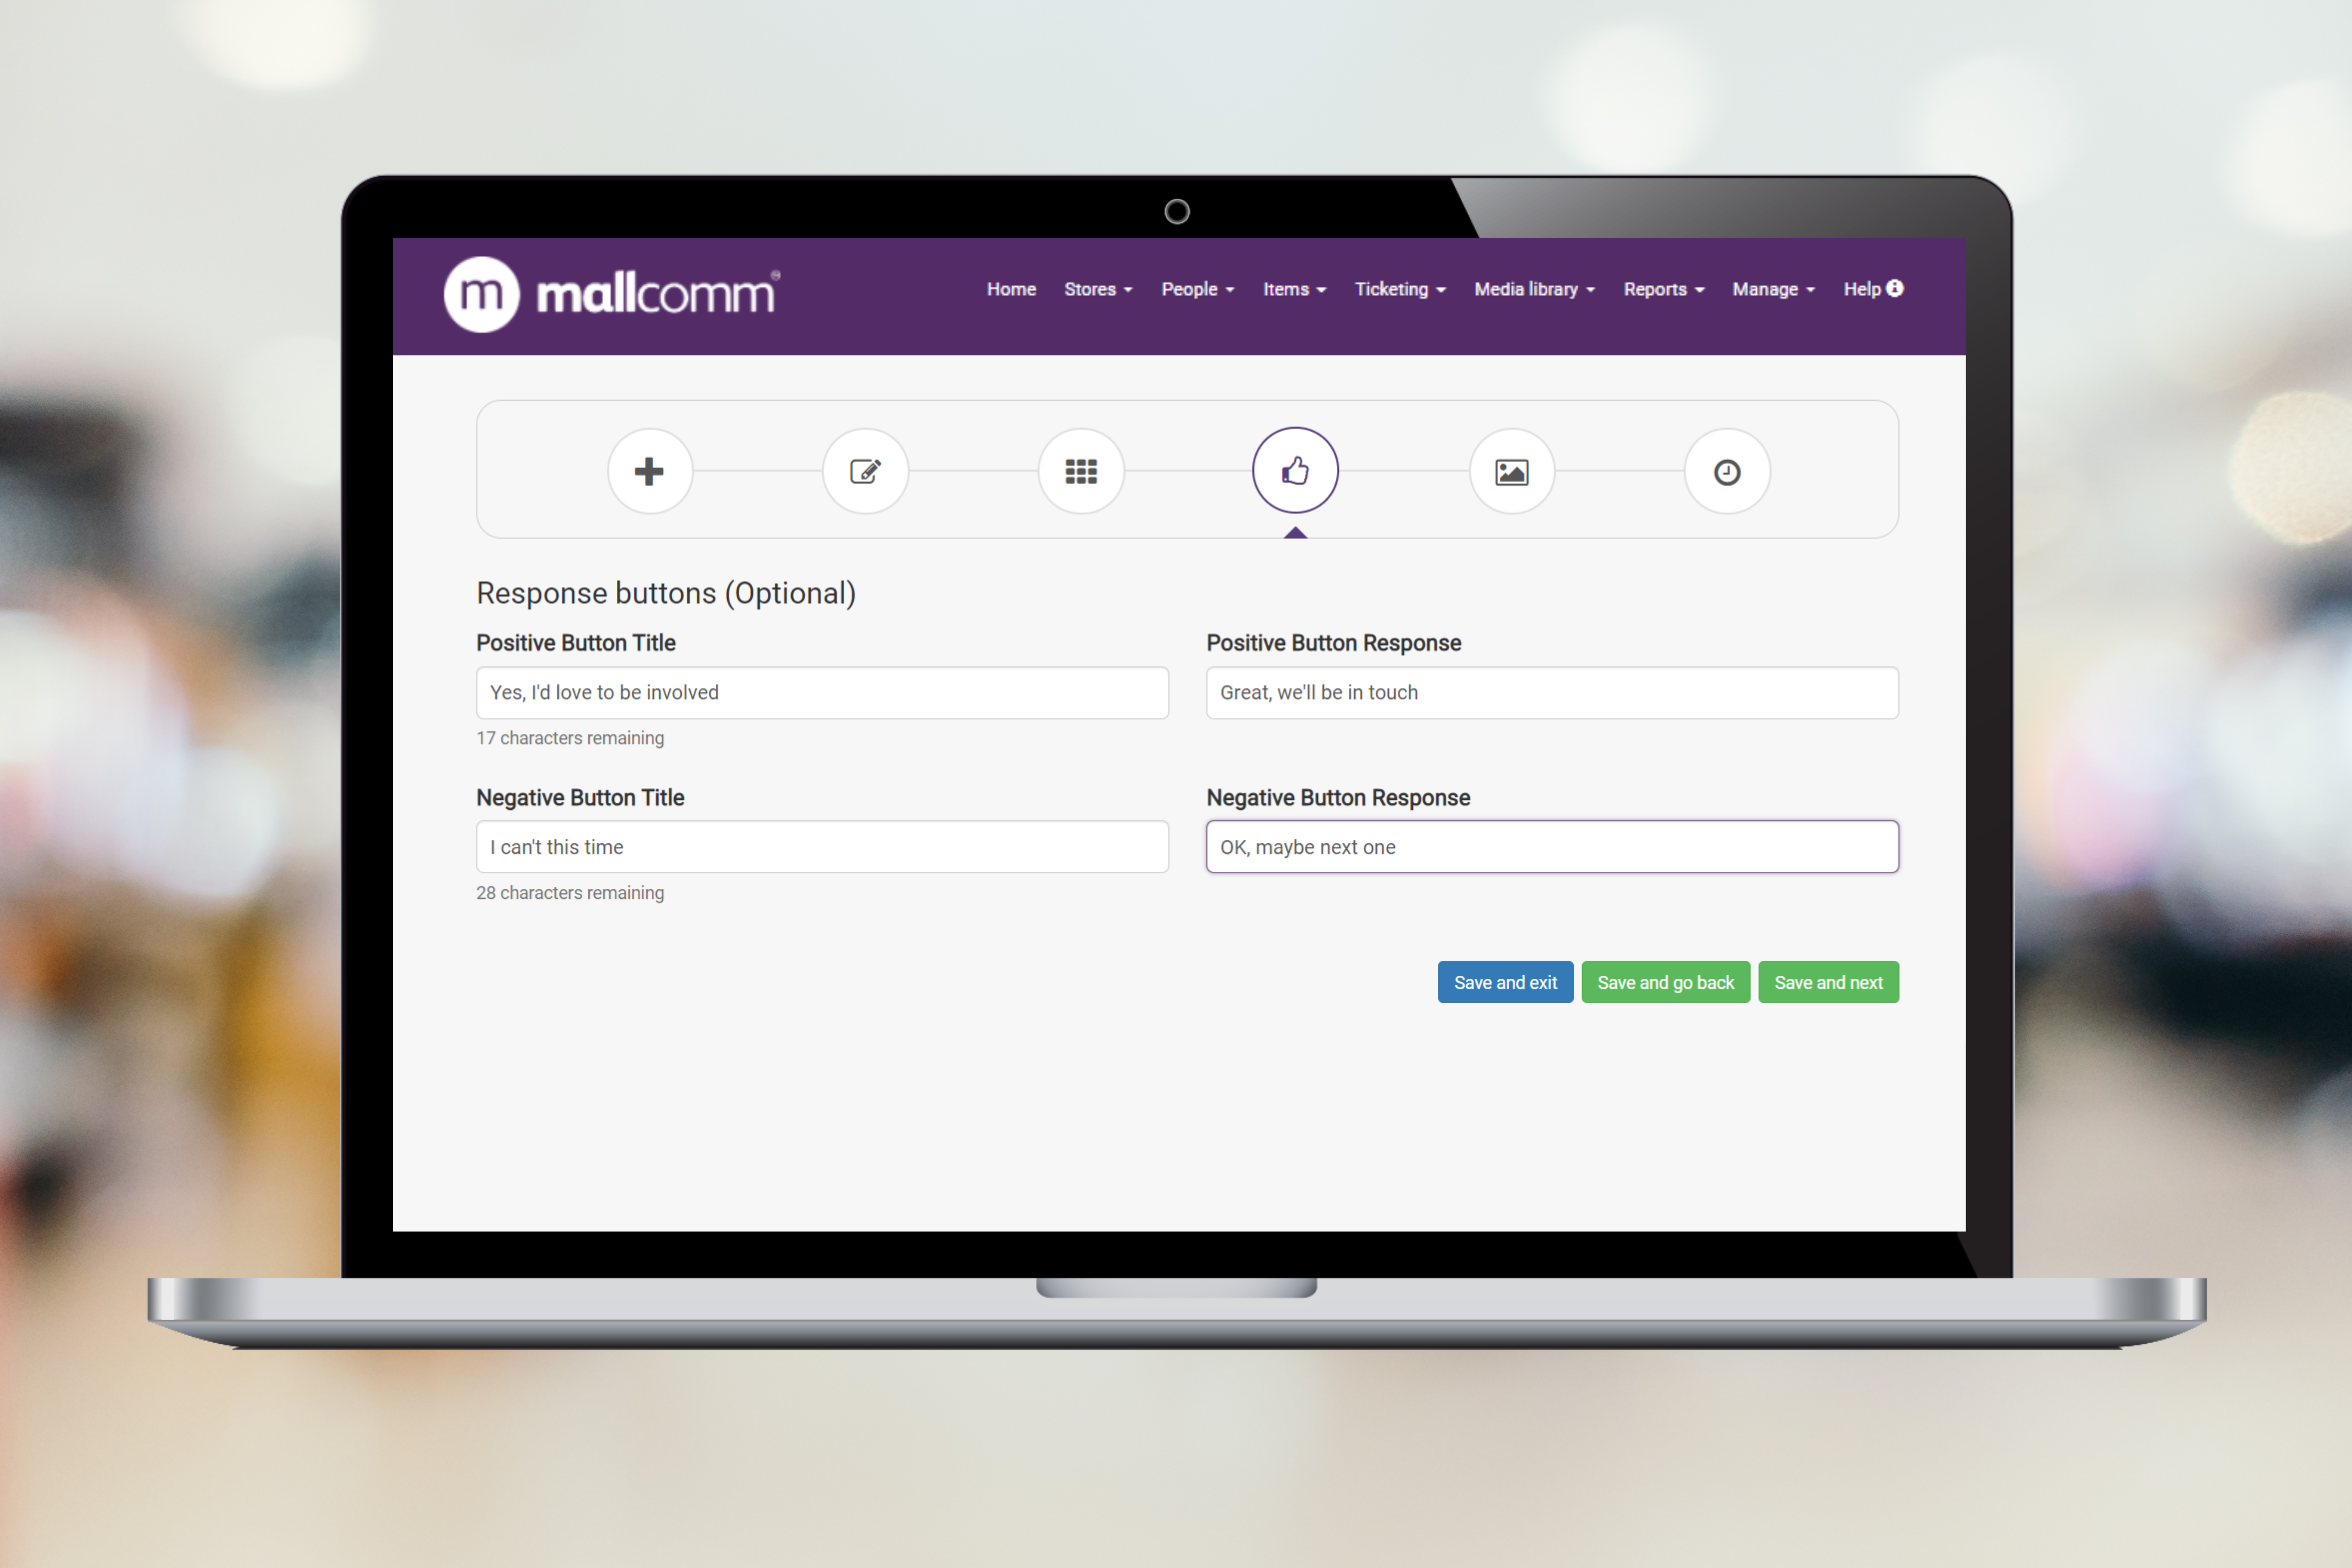
Add a response button
It is possible to include buttons that a user can use to respond quickly. You can add a positive and a negative button and also a response that the user will see when they press the response.
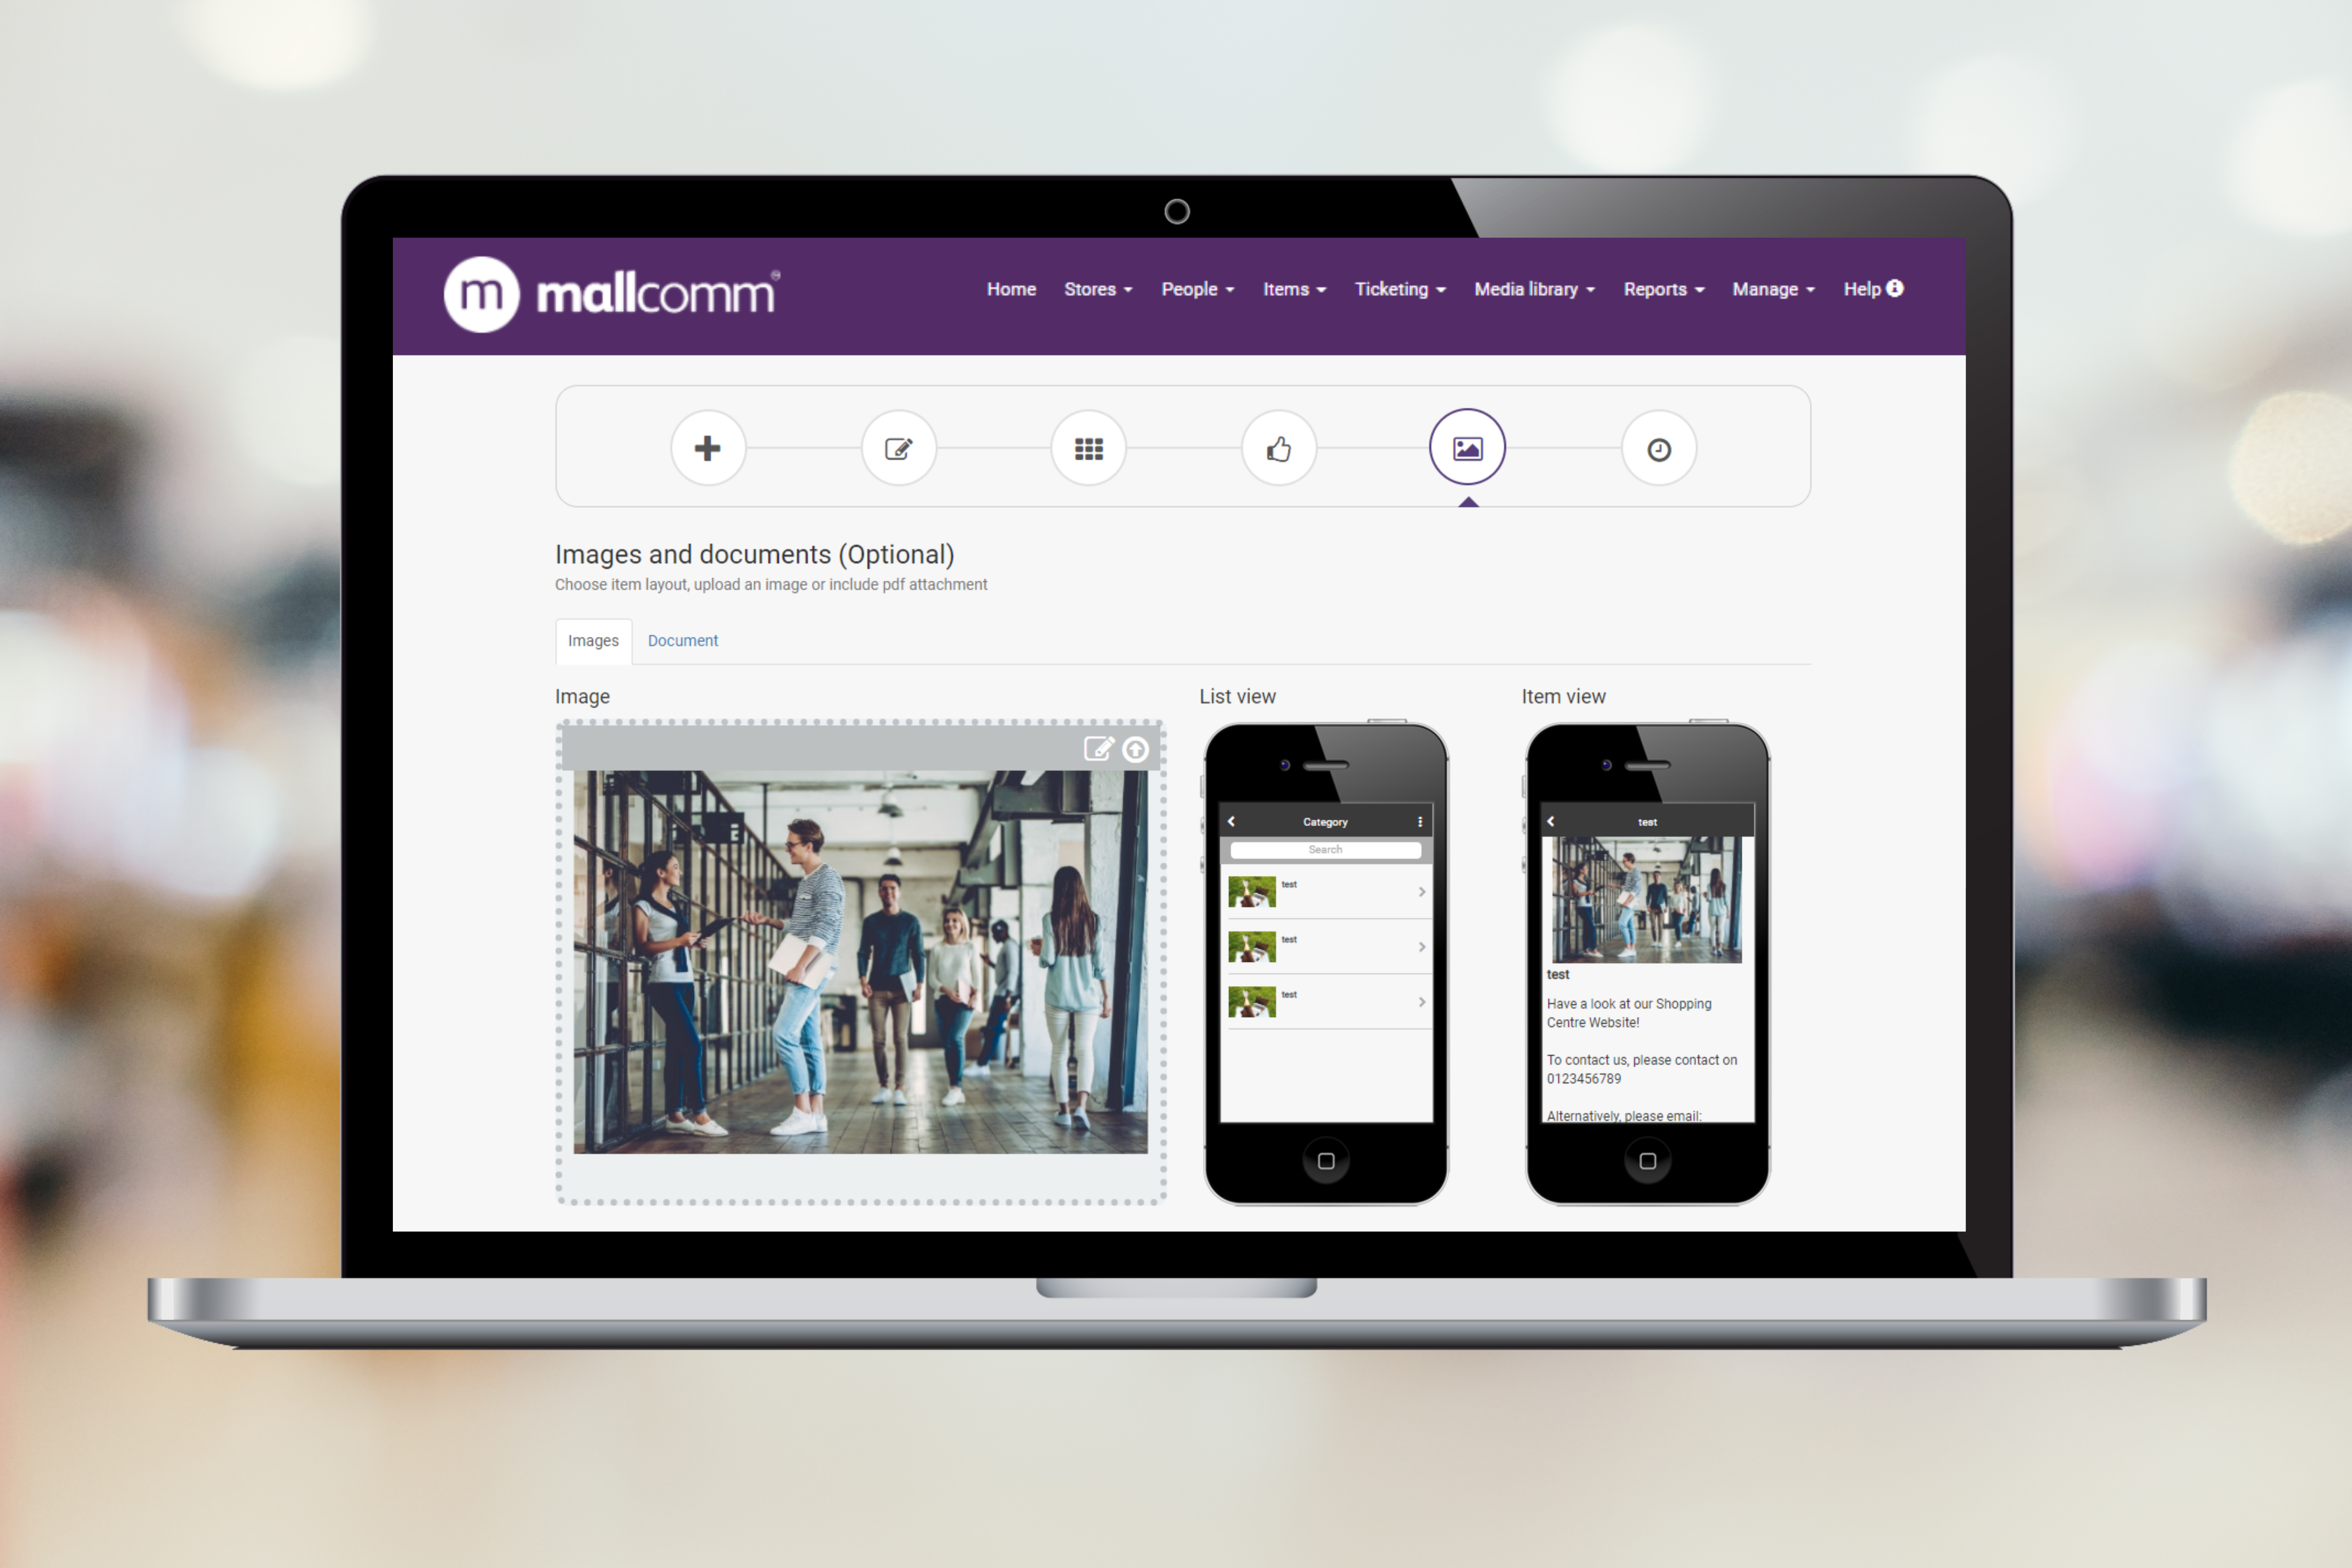
Adding Media
Next is setting your header image and thumbnail, also attaching a PDF.
Images
The top image relates to the header image of your item and the second is the thumbnail that appears in the list view.
We strongly recommend using images with a 5:3 ratio and ideally a width no larger than 600px. The ideal image size is 600px wide by 360px tall and no bigger than 30kbs. This will ensure the image fits well in the app and app load times are efficient.
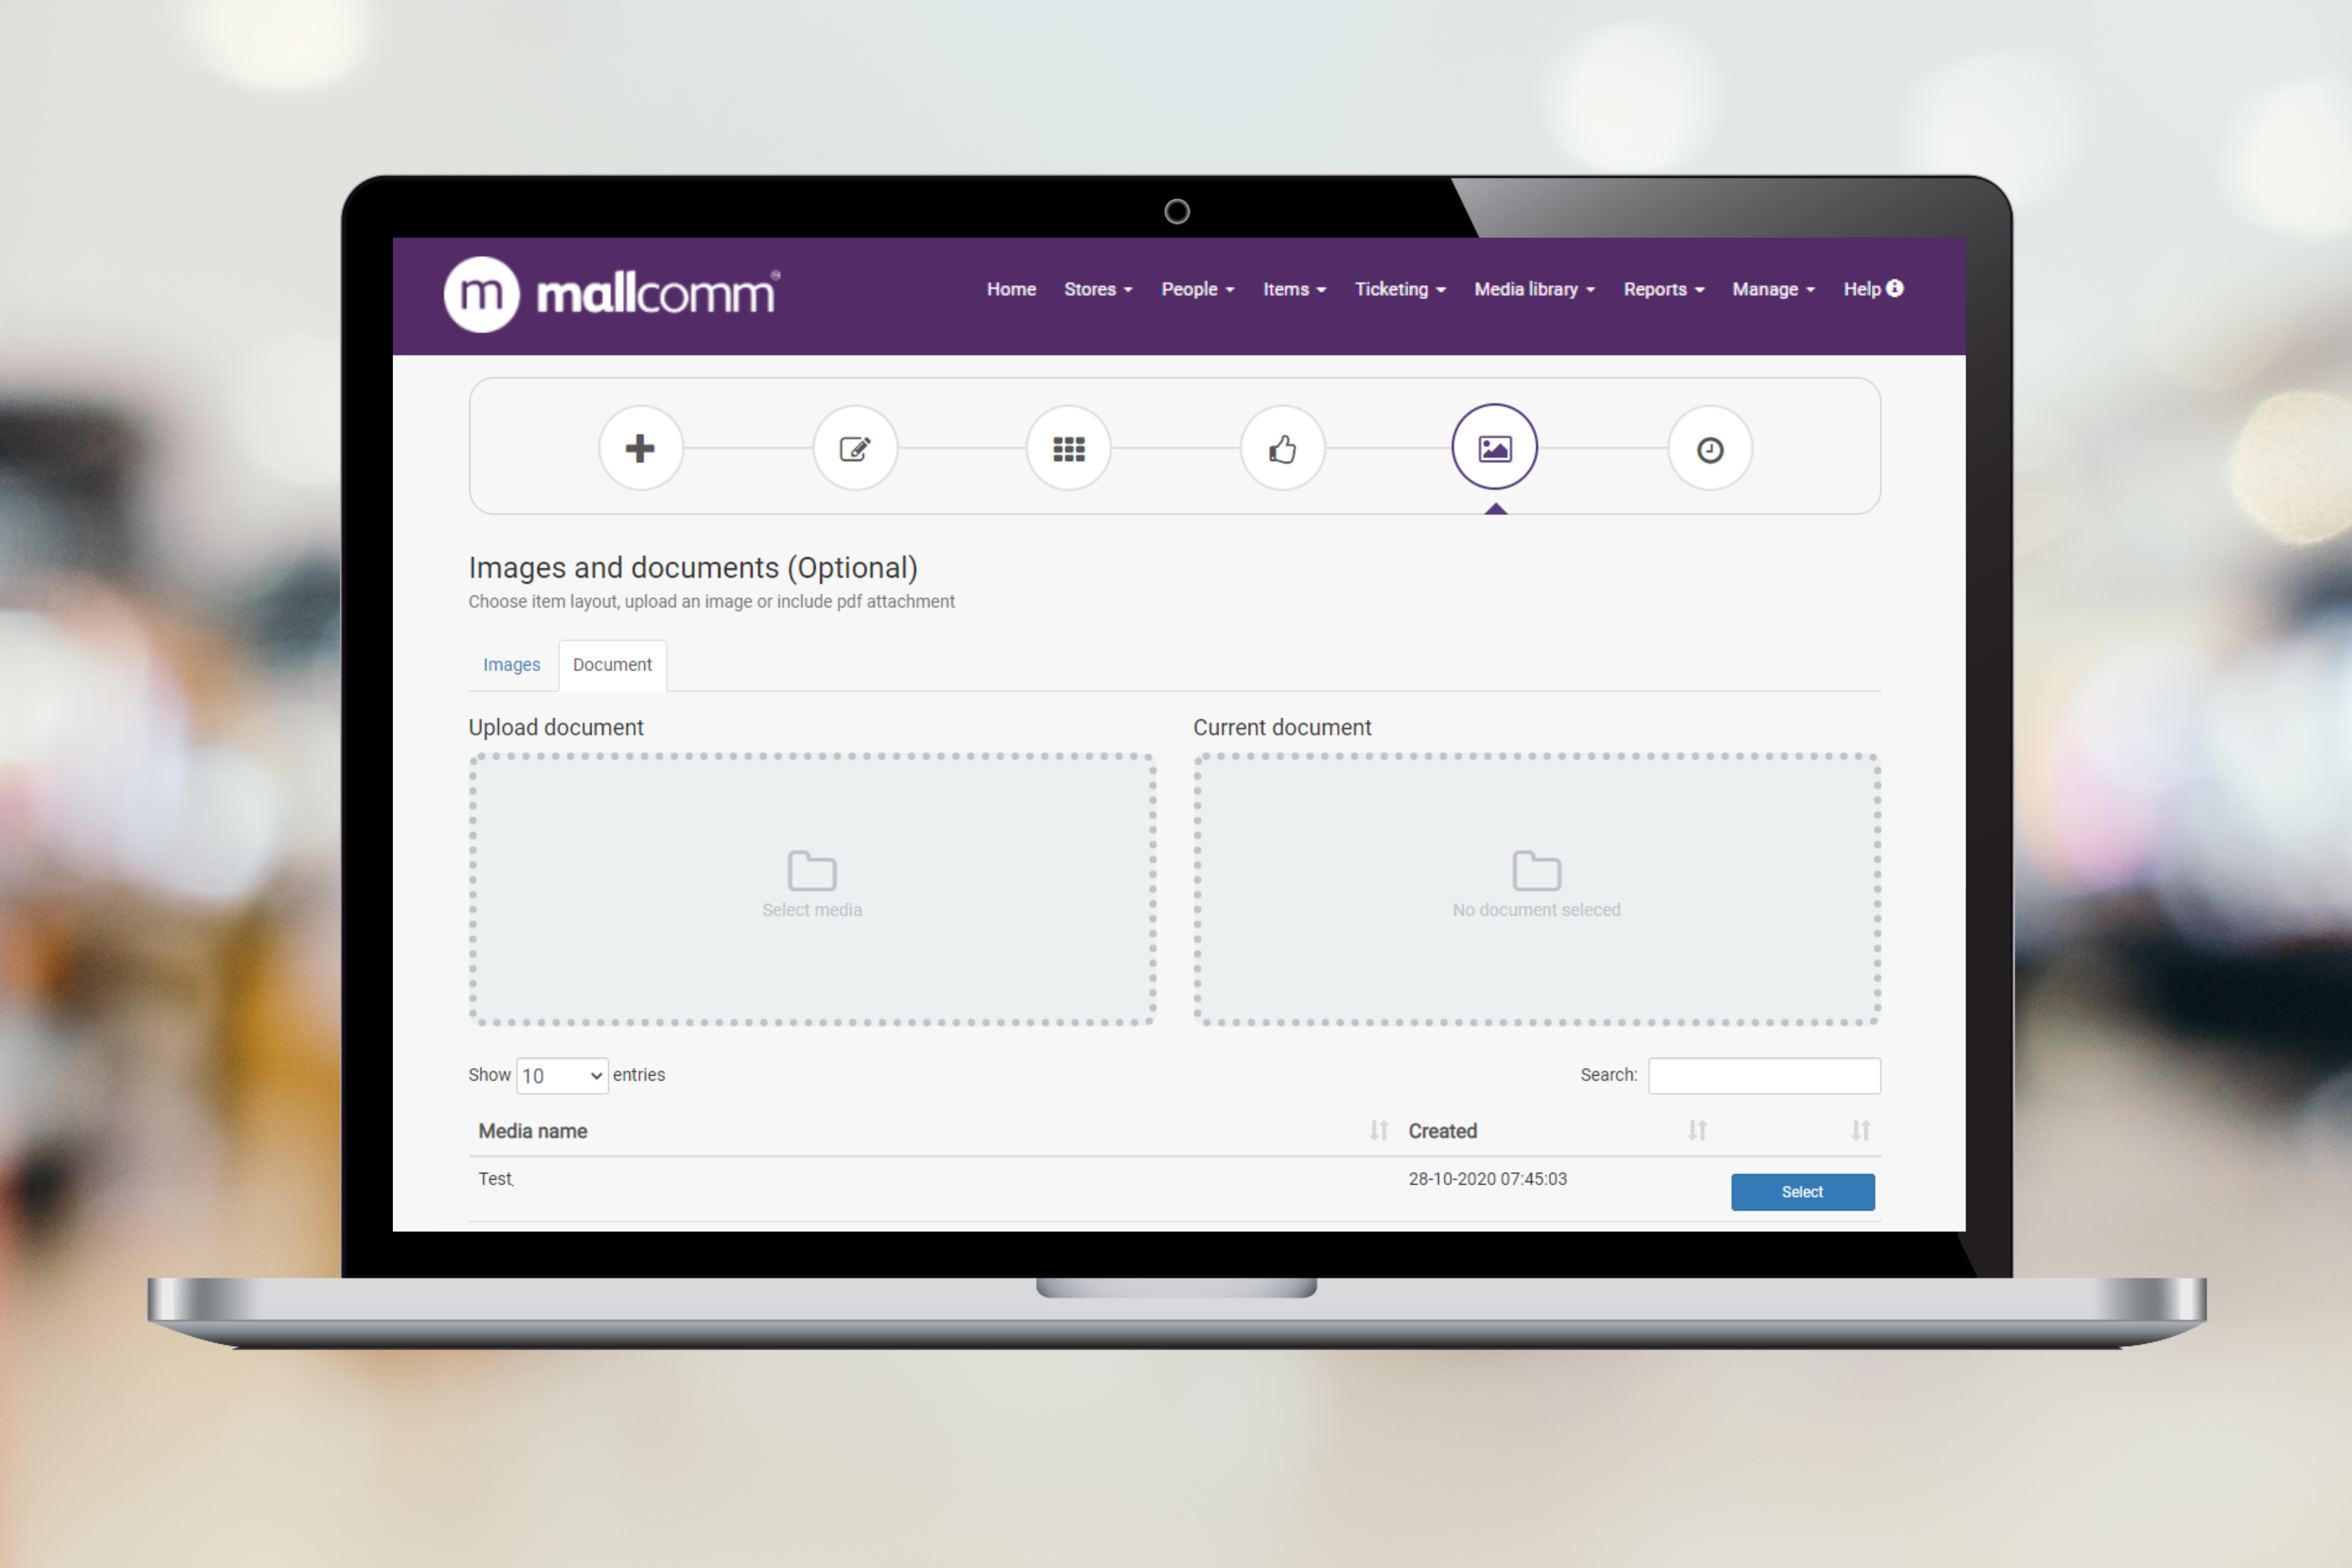
Documents
You can attach documents to standard list items in the document tab located just above where you see the header image. You can either upload a new document or select one that is already in your media library.
Scheduling and push notifications
Finally is the scheduling page.
First, you can decide whether you would like to highlight the item in red to make it stand out in your news list.
Next, you can set a date and time for your item to be added and removed from the app, if you leave these blank it will appear right away and be there until you manually remove it.
For many items, you may not require an end date. However, where possible we do advise adding one to keep your app looking clean and not filling up the news feed with redundant items.
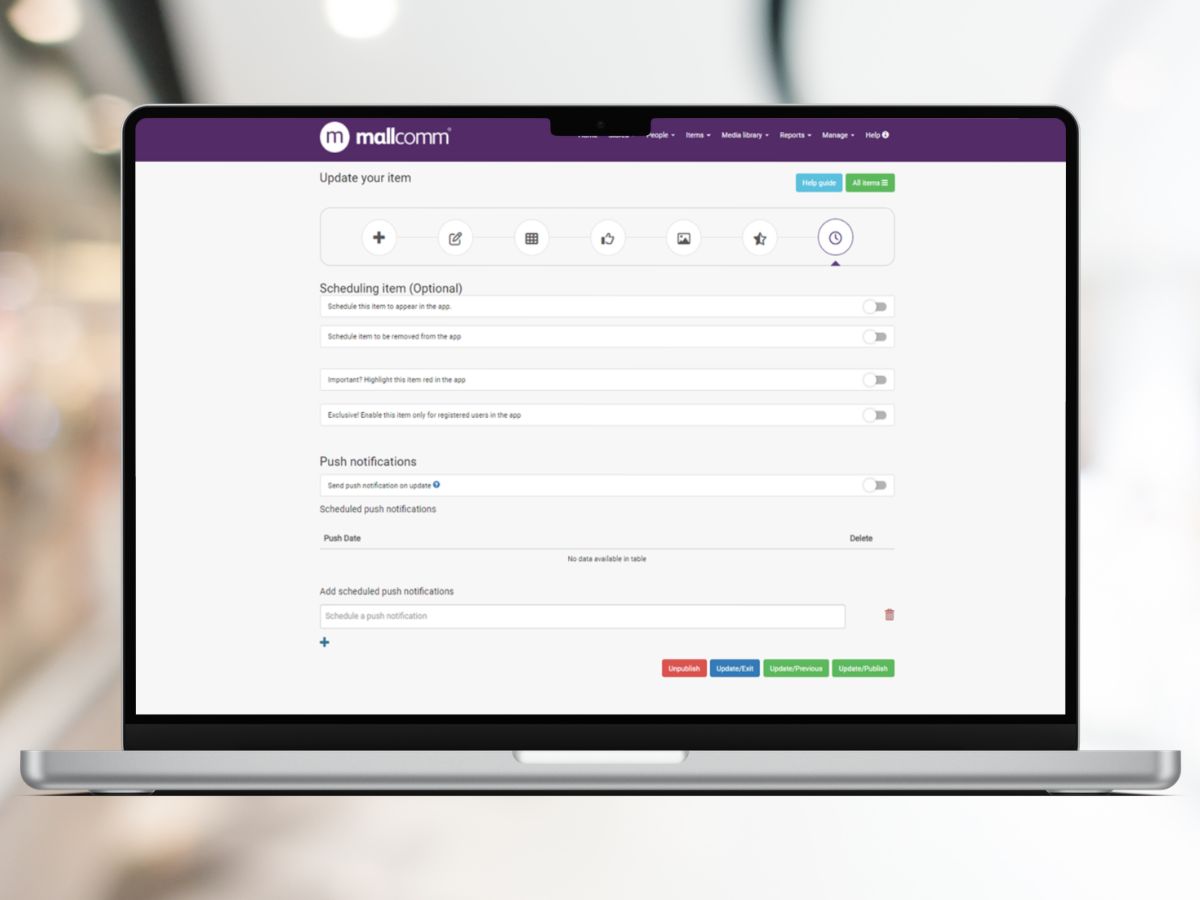
Push notifications
You can also send and schedule future push notifications to alert users to your item. If you would like to send a notification immediately on publish, then turn on the "send push now" toggle switch. This will send out a notification as soon as you press the update/publish button.
You can also schedule notifications for the future as well. Just click on the field and set the date and time you would like the push to be sent.
Tip: If you want to send a push notification after you have published your item, you can edit it, skip straight to this page, and turn on the "send push now" option again. It will send a notification as soon as you press the update/publish button.
It is possible to use both of these features together if you would like to send them right away as well as some scheduled follow-up push notifications.
Once you have worked your way through the item creation walkthrough press Update/Publish and your item will be set to appear in the app.
Adding an item to a document list
The process is the same, however, as an item in a document list opens a PDF directly, there is no need to add anything in the content creation box and you are not able to add response buttons.
Once you have added your item, you can send an app alert to increase visibility
FAQs
I can’t see my item
Start by checking that it is assigned to the correct button and access level. You can do this by going to all items, finding the item in question, clicking the edit icon and going to the assign to button tab. Here you can check which button it should be in.
If the button is correct then check the access level, it could be that your account is not in the access level the item is set to.
For example, if you have assigned it to All Retail Managers, and you are currently part of the Centre Management team store, you will be unable to see it, but users in that access level will.
If you have checked both buttons and access levels, the other thing it maybe is scheduling. Check the dates in the scheduling tab, if it is before the schedule or after the removal date, then the item won’t show. Remember if the item in question is an event, this is set on the item content page rather than scheduling.
If none of the above solves the situation, please email our support team who will be able to assist you.
My items look strange in the app
This can happen if you are copying and pasting content into the app from other software such as Word or Google Docs. All word processors have a lot of code they use behind the scenes to separate paragraphs or change font size, and it’s not always compatible across all platforms.
The best way to create an item is to create it directly in the content editor, however, we realise this is not always possible. If you do need to copy and paste, it is important to remove that code first.
If you are using Google Chrome this is really easy when you paste, just right click and choose “Paste as plain text”.
Unfortunately, this option doesn’t exist on all internet browsers. If you don’t have that, then another option would be to paste your content into Notepad before copying again and then pasting into the content editor.
Links in my item content won't connect
While certain devices will automatically recognise an email address or a phone number, not all devices have that ability. It may be the case that in your item you have added an email address but not manually hyperlinked it. It is good practice to hyperlink all websites, email addresses and phone numbers manually using the hyperlink tool.
To add a website just put the address in the URL field. Ensure it includes the full link including the https:// at the beginning.
To email enter mailto: and then the email address with no spaces
To add a phone number enter tel: and then the phone number with no spaces.
Where can I see button responses?
From the item drop-down go to “All items”. Use the filters to locate the item you are looking for and click on the title.
In the table you will see a column named “Latest Response”, this is the most recent button they have pressed. You can click on this to see if they have updated their answer at any point. These responses can also be downloaded.
Can I edit user-submitted items?
Yes. This is often useful is a user has submitted a large chunk of test for a job description or offer. All you need to do is find the item in the CMS and do to the content editor tab.
Here you can use all of the tools talked about earlier in this article to space it out, add bullet points and make it look nice.
Just bear in mind that editing and updating this page will overwrite what the tenant has input, so be sure to check the scheduling page before you press update an exit as you may unwittingly change the dates of an item if you are not careful.