
Creating your item templates
Once you have all of your settings organised you can create your templates.
Creating a template is similar to creating an item for your app, you are just presetting what the item will contain. You can find Add New Template in the buttons to the top right of your screen, this will take you to the template creation screen.
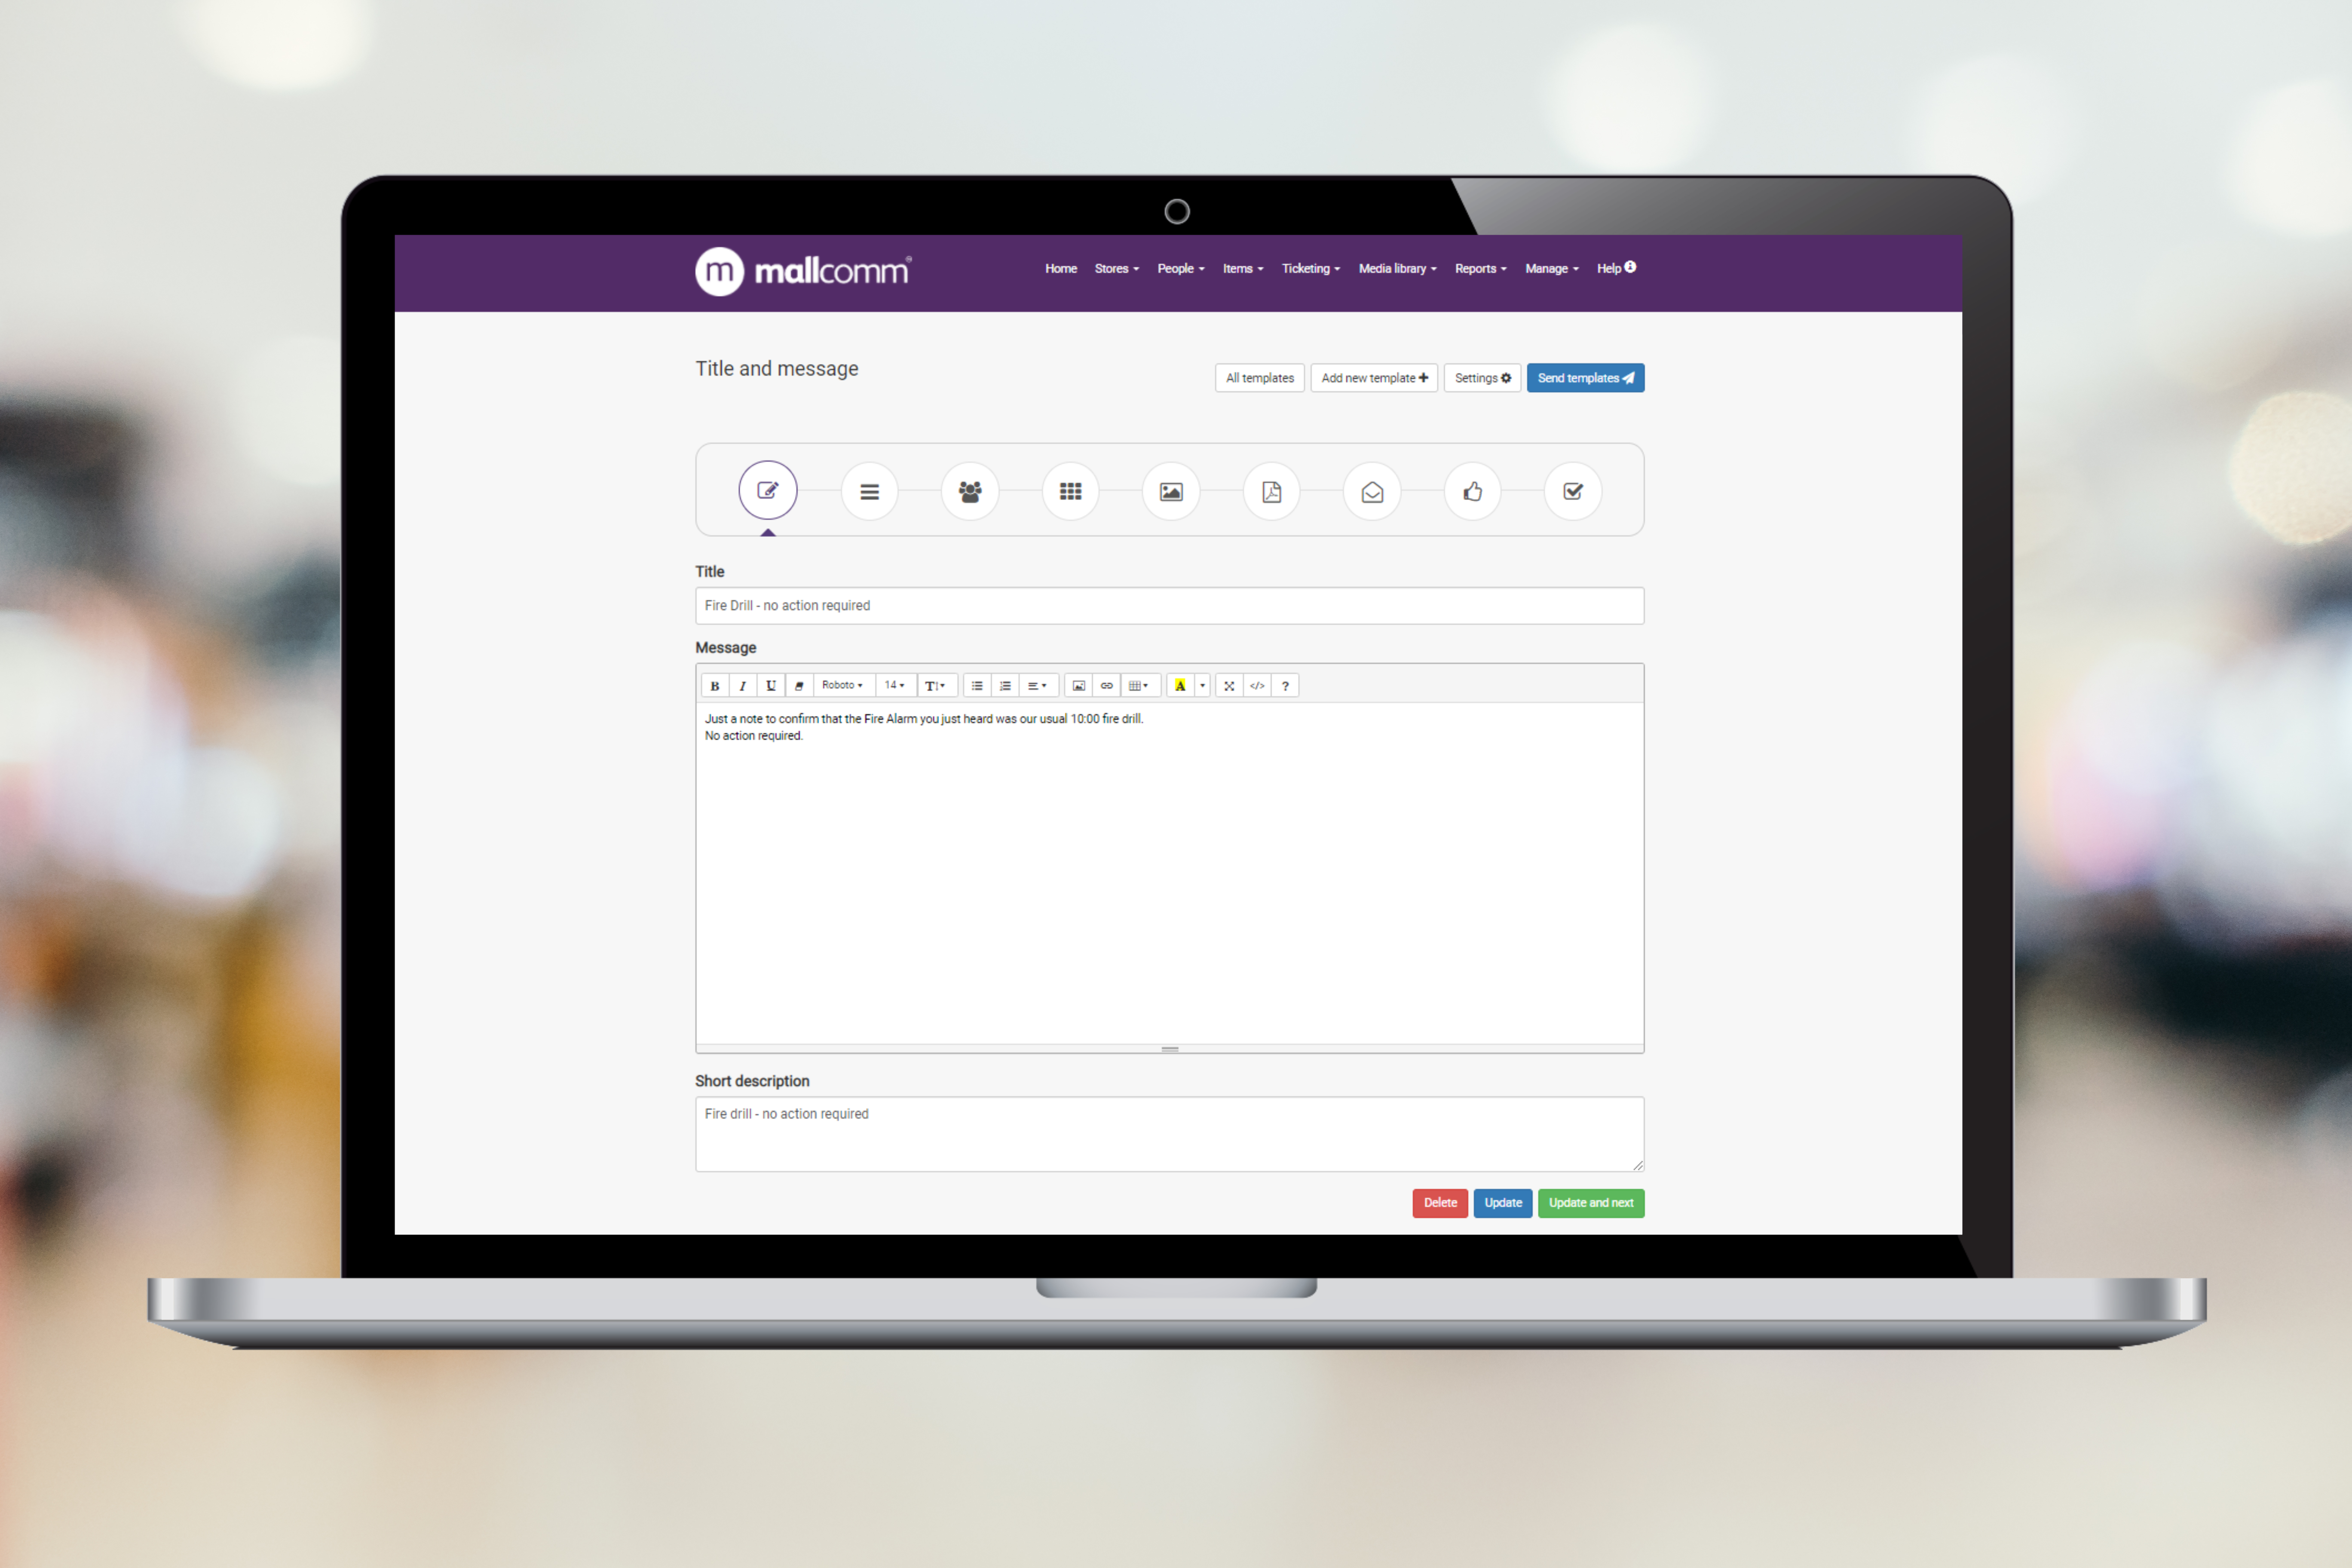
Content
The first step is adding your content. Add a Title, the content and a short description to summarise for the all template overview in the app.
You can also customise the push notification title and content that will be sent to your app users when the item is created.
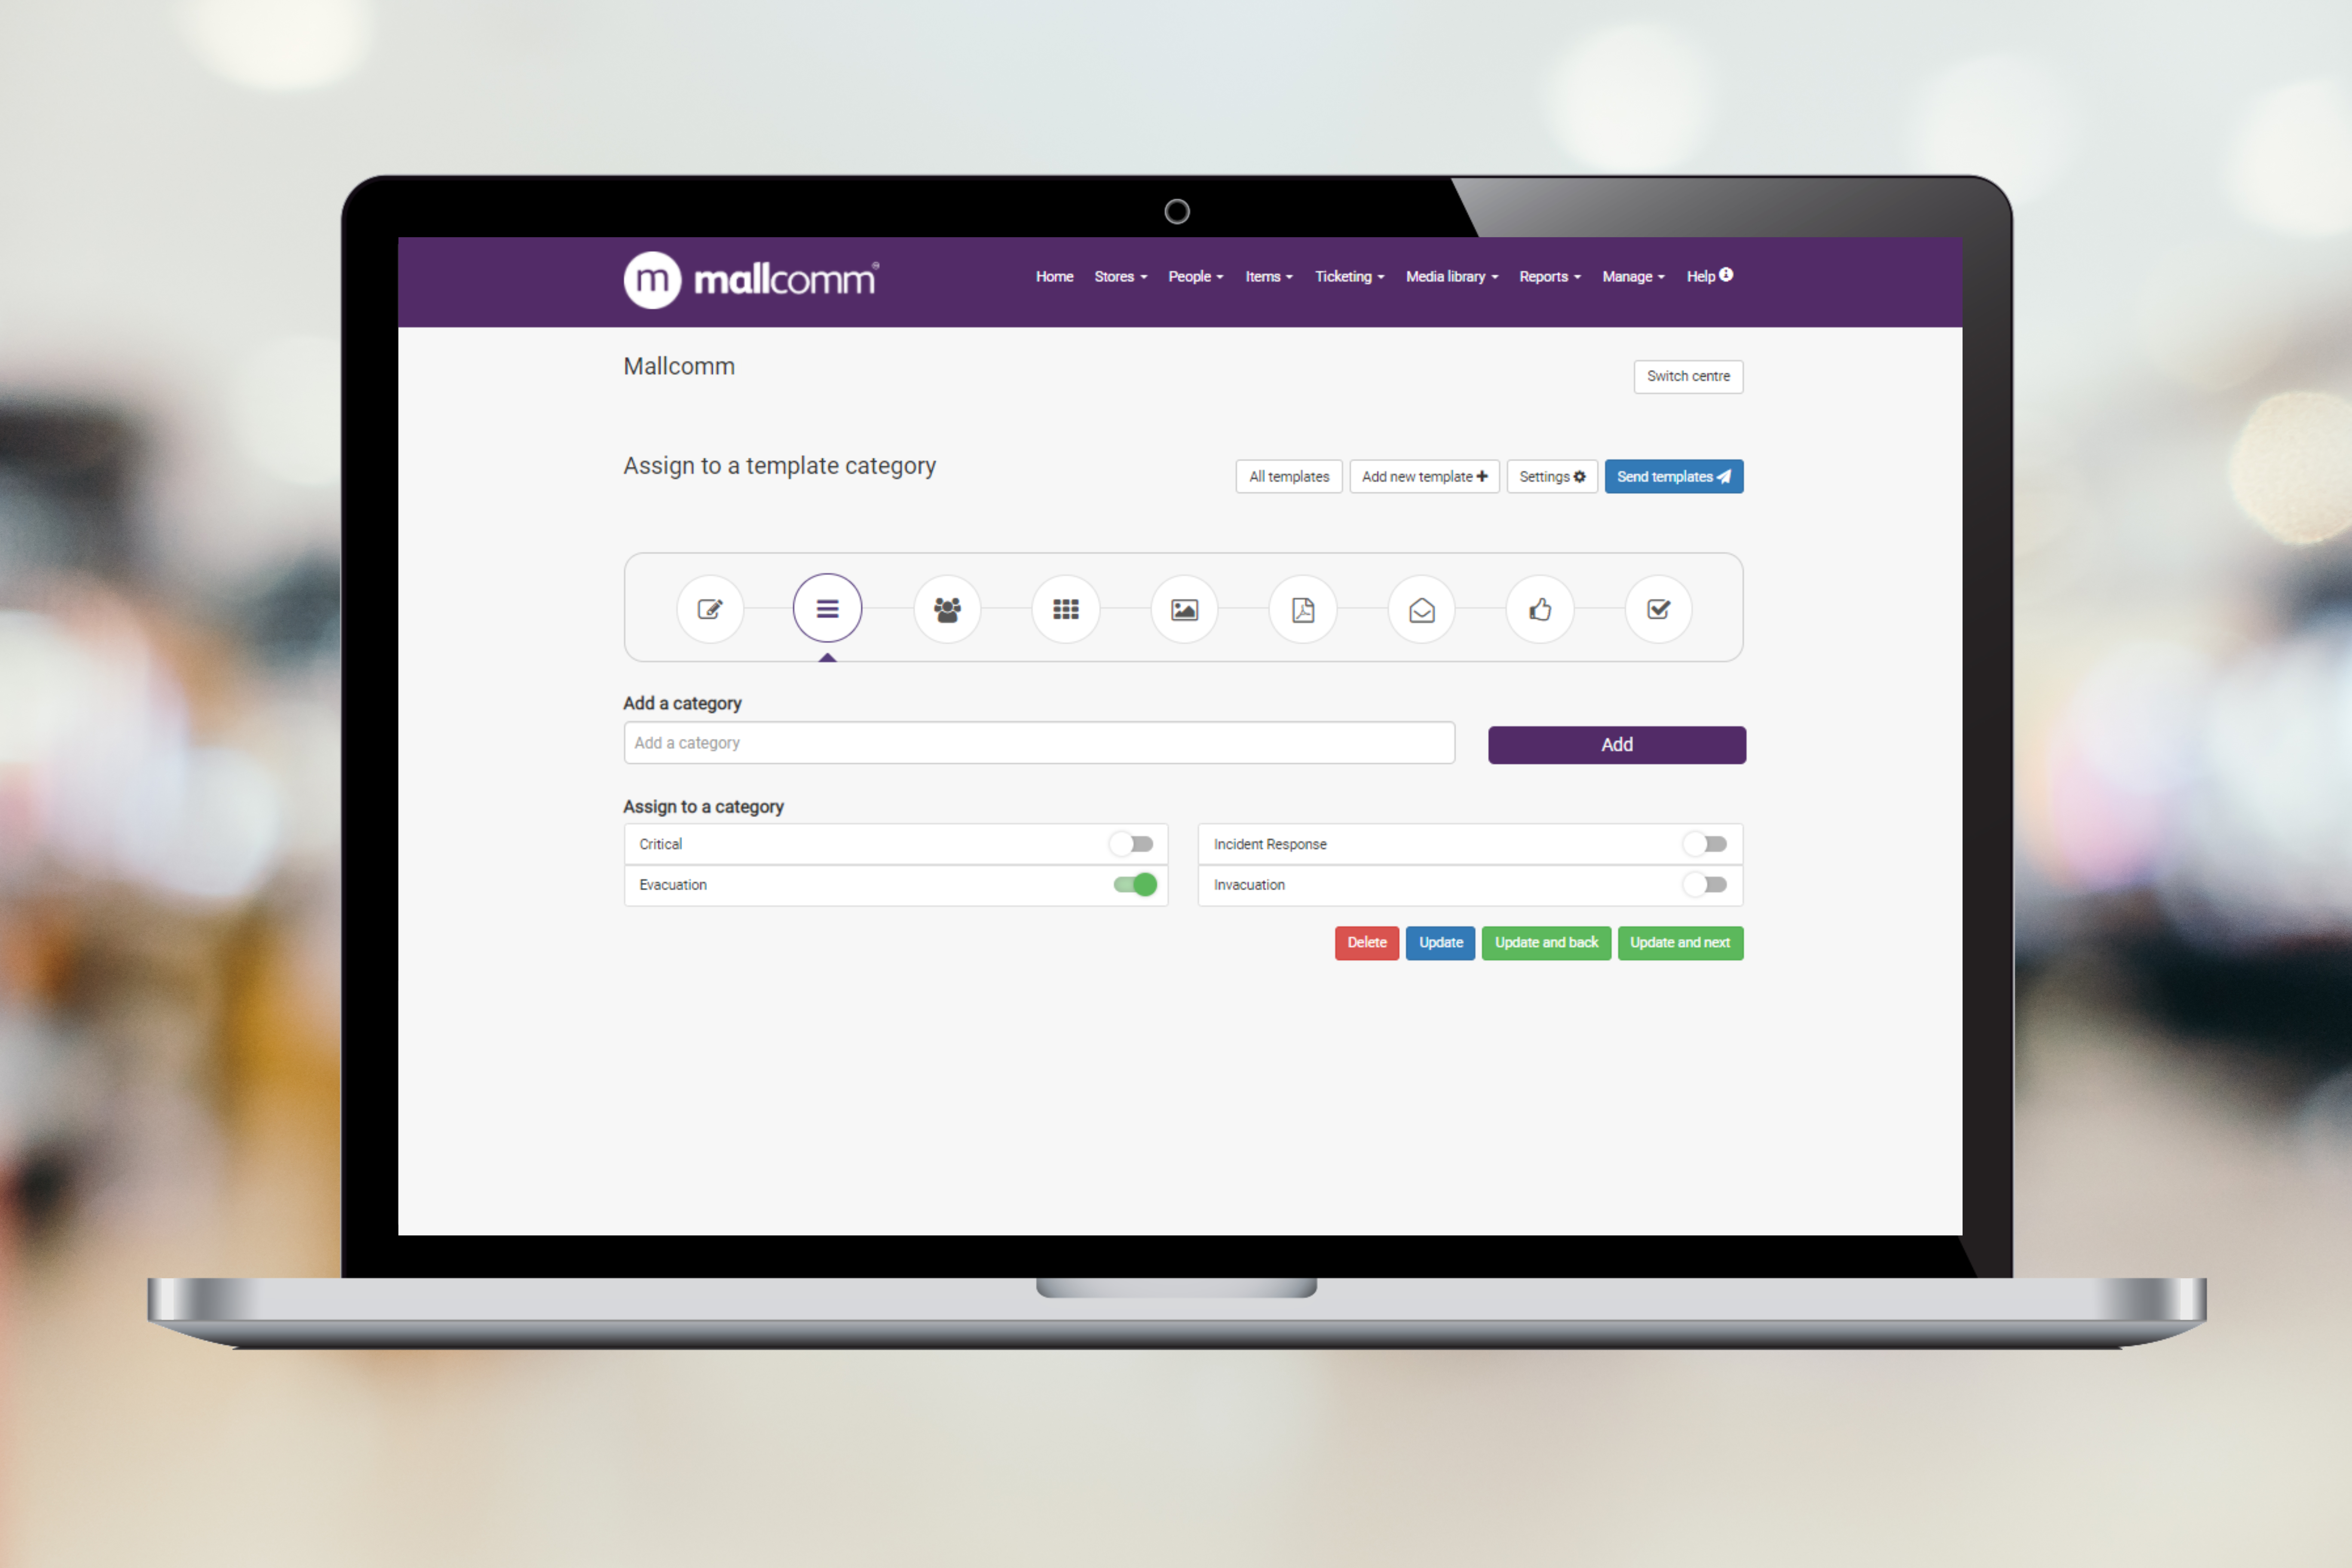
Assign to category
Next, you can assign to one of your categories that can be set up in the settings page. If you need to add a new category, you can also do that here.
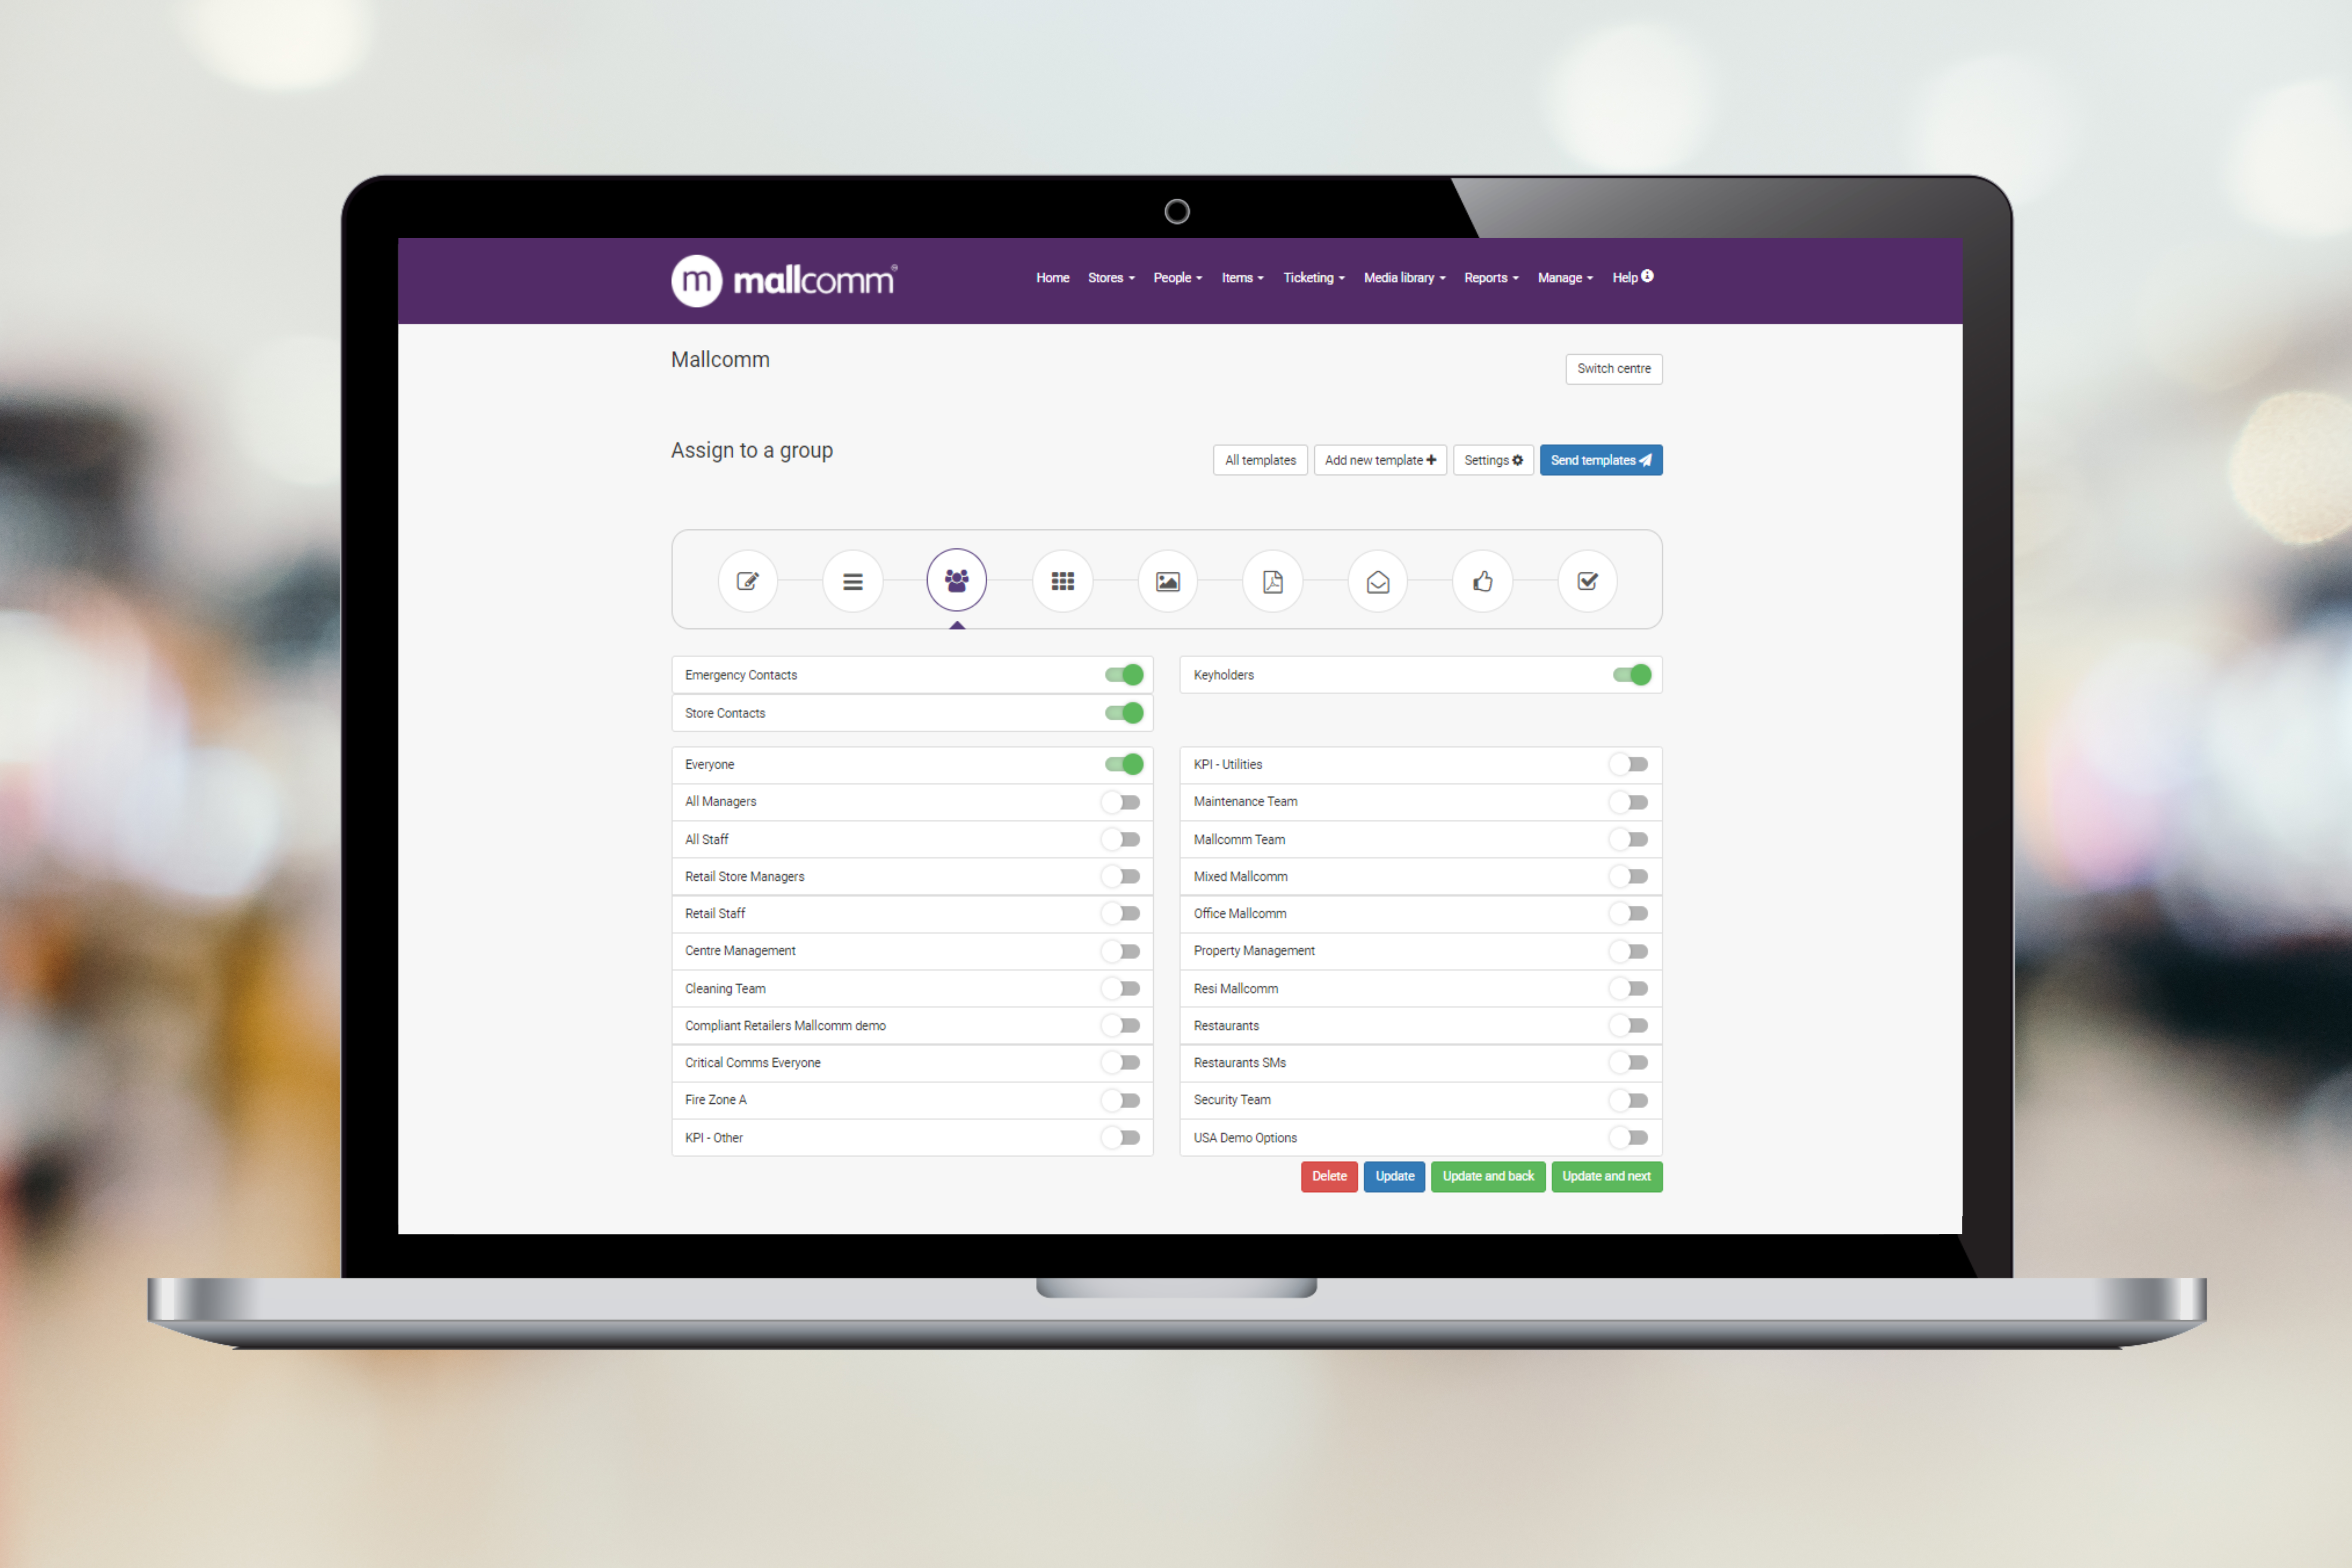
Assign to a group
This is where you can select the access level that will receive this template when it is sent.
If you use our CRM module, you can also select Store Contacts which allows you to reach individuals who are not App users.
There are two columns of toggle switches, Assigned and Allowed. Toggling on Assigned will mean that the message will be sent to those groups by default. Toggling on Allowed will mean that these access levels can be selected when editing a template in the app before sending.
If neither option is toggled, you will not be able to send this template to the unselected access level.
You can also choose to notify Keyholders and Emergency Contacts for all stores. These responsibilities are set in the edit person page or by the store managers directly in the app.
Assign to button
Select what button the item that will be created this template will appear in once it has been sent.

Select media
You can upload or choose an image from your media library to appear in the item If this is left blank, the default image from your setting will be used.

Select media document
If you wanted you could attach a PDF which will be added to the template when it is sent. An example could be evacuation procedures or invacuation protocol. This ensures the app user can find the relevant information quickly and easily.

Add Email, Text, & Voice
You must include the function to send an email to all the users in the access level selected. It will be delivered to the email address that the user or contact has on the system.
You just need to enter a subject line and the email body content and it will be delivered when sending a critical comms message.
Add text and voice message
If you are utilizing the enhanced Critical Comms feature then you also benefit from being able to contact individuals via SMS text message and an automated voice call.
You can choose in the dropdown whom to send the text and voice messages to as part of the template. This can also be edited when sending the message from your app.
You can then add the SMS content and the message to be read out on the phone call in the following fields.
IMPORTANT NOTE: Try to keep the SMS Text message under 160 characters. More than this will split the text into multiple SMS messages and can delay the delivery of important notifications.

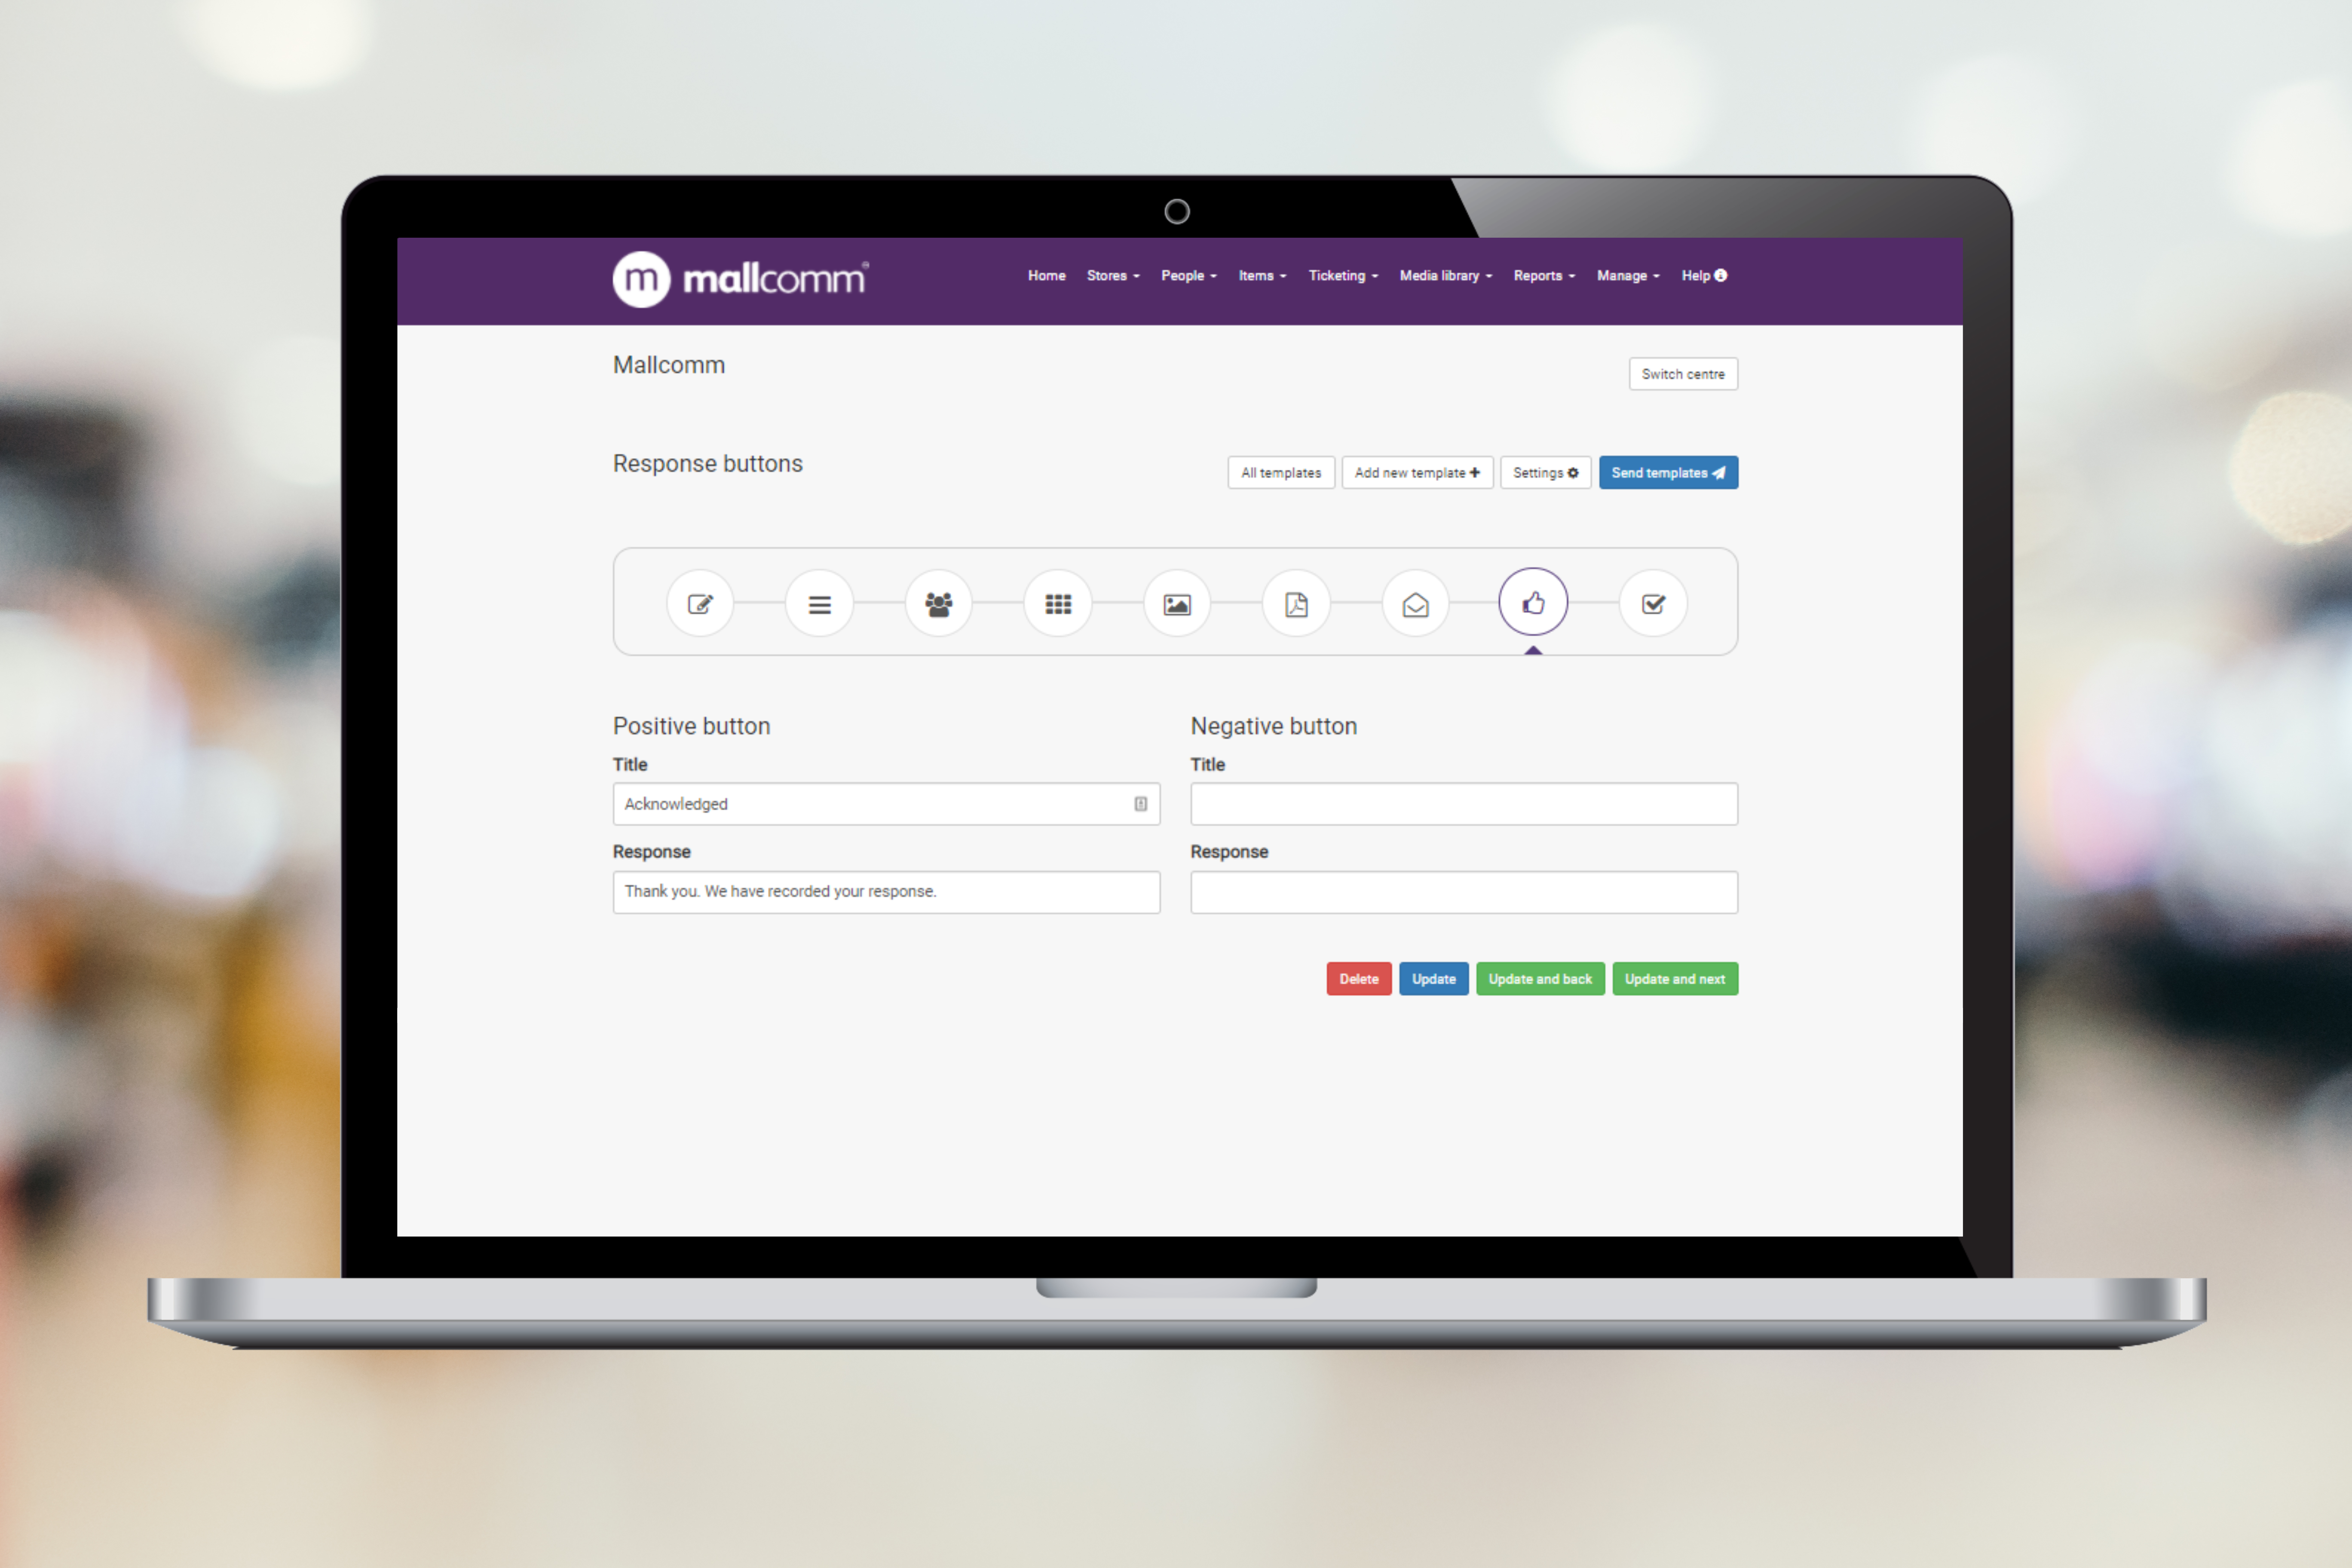
Add a response button
You can include a positive and negative response button to appear in the item that goes into the app.
If you leave them blank, it will default to what is set up in your critical Comms settings. If it is blank here also, then nothing will show.
Summary
The final stage of completing every template is the summary.
This will then display the groups that will be notified along with confirming how many stores and people will be notified across the different groups.
At this point, if any amendments are required of who is notified you can navigate back to assigning a group.
-PNG.png)
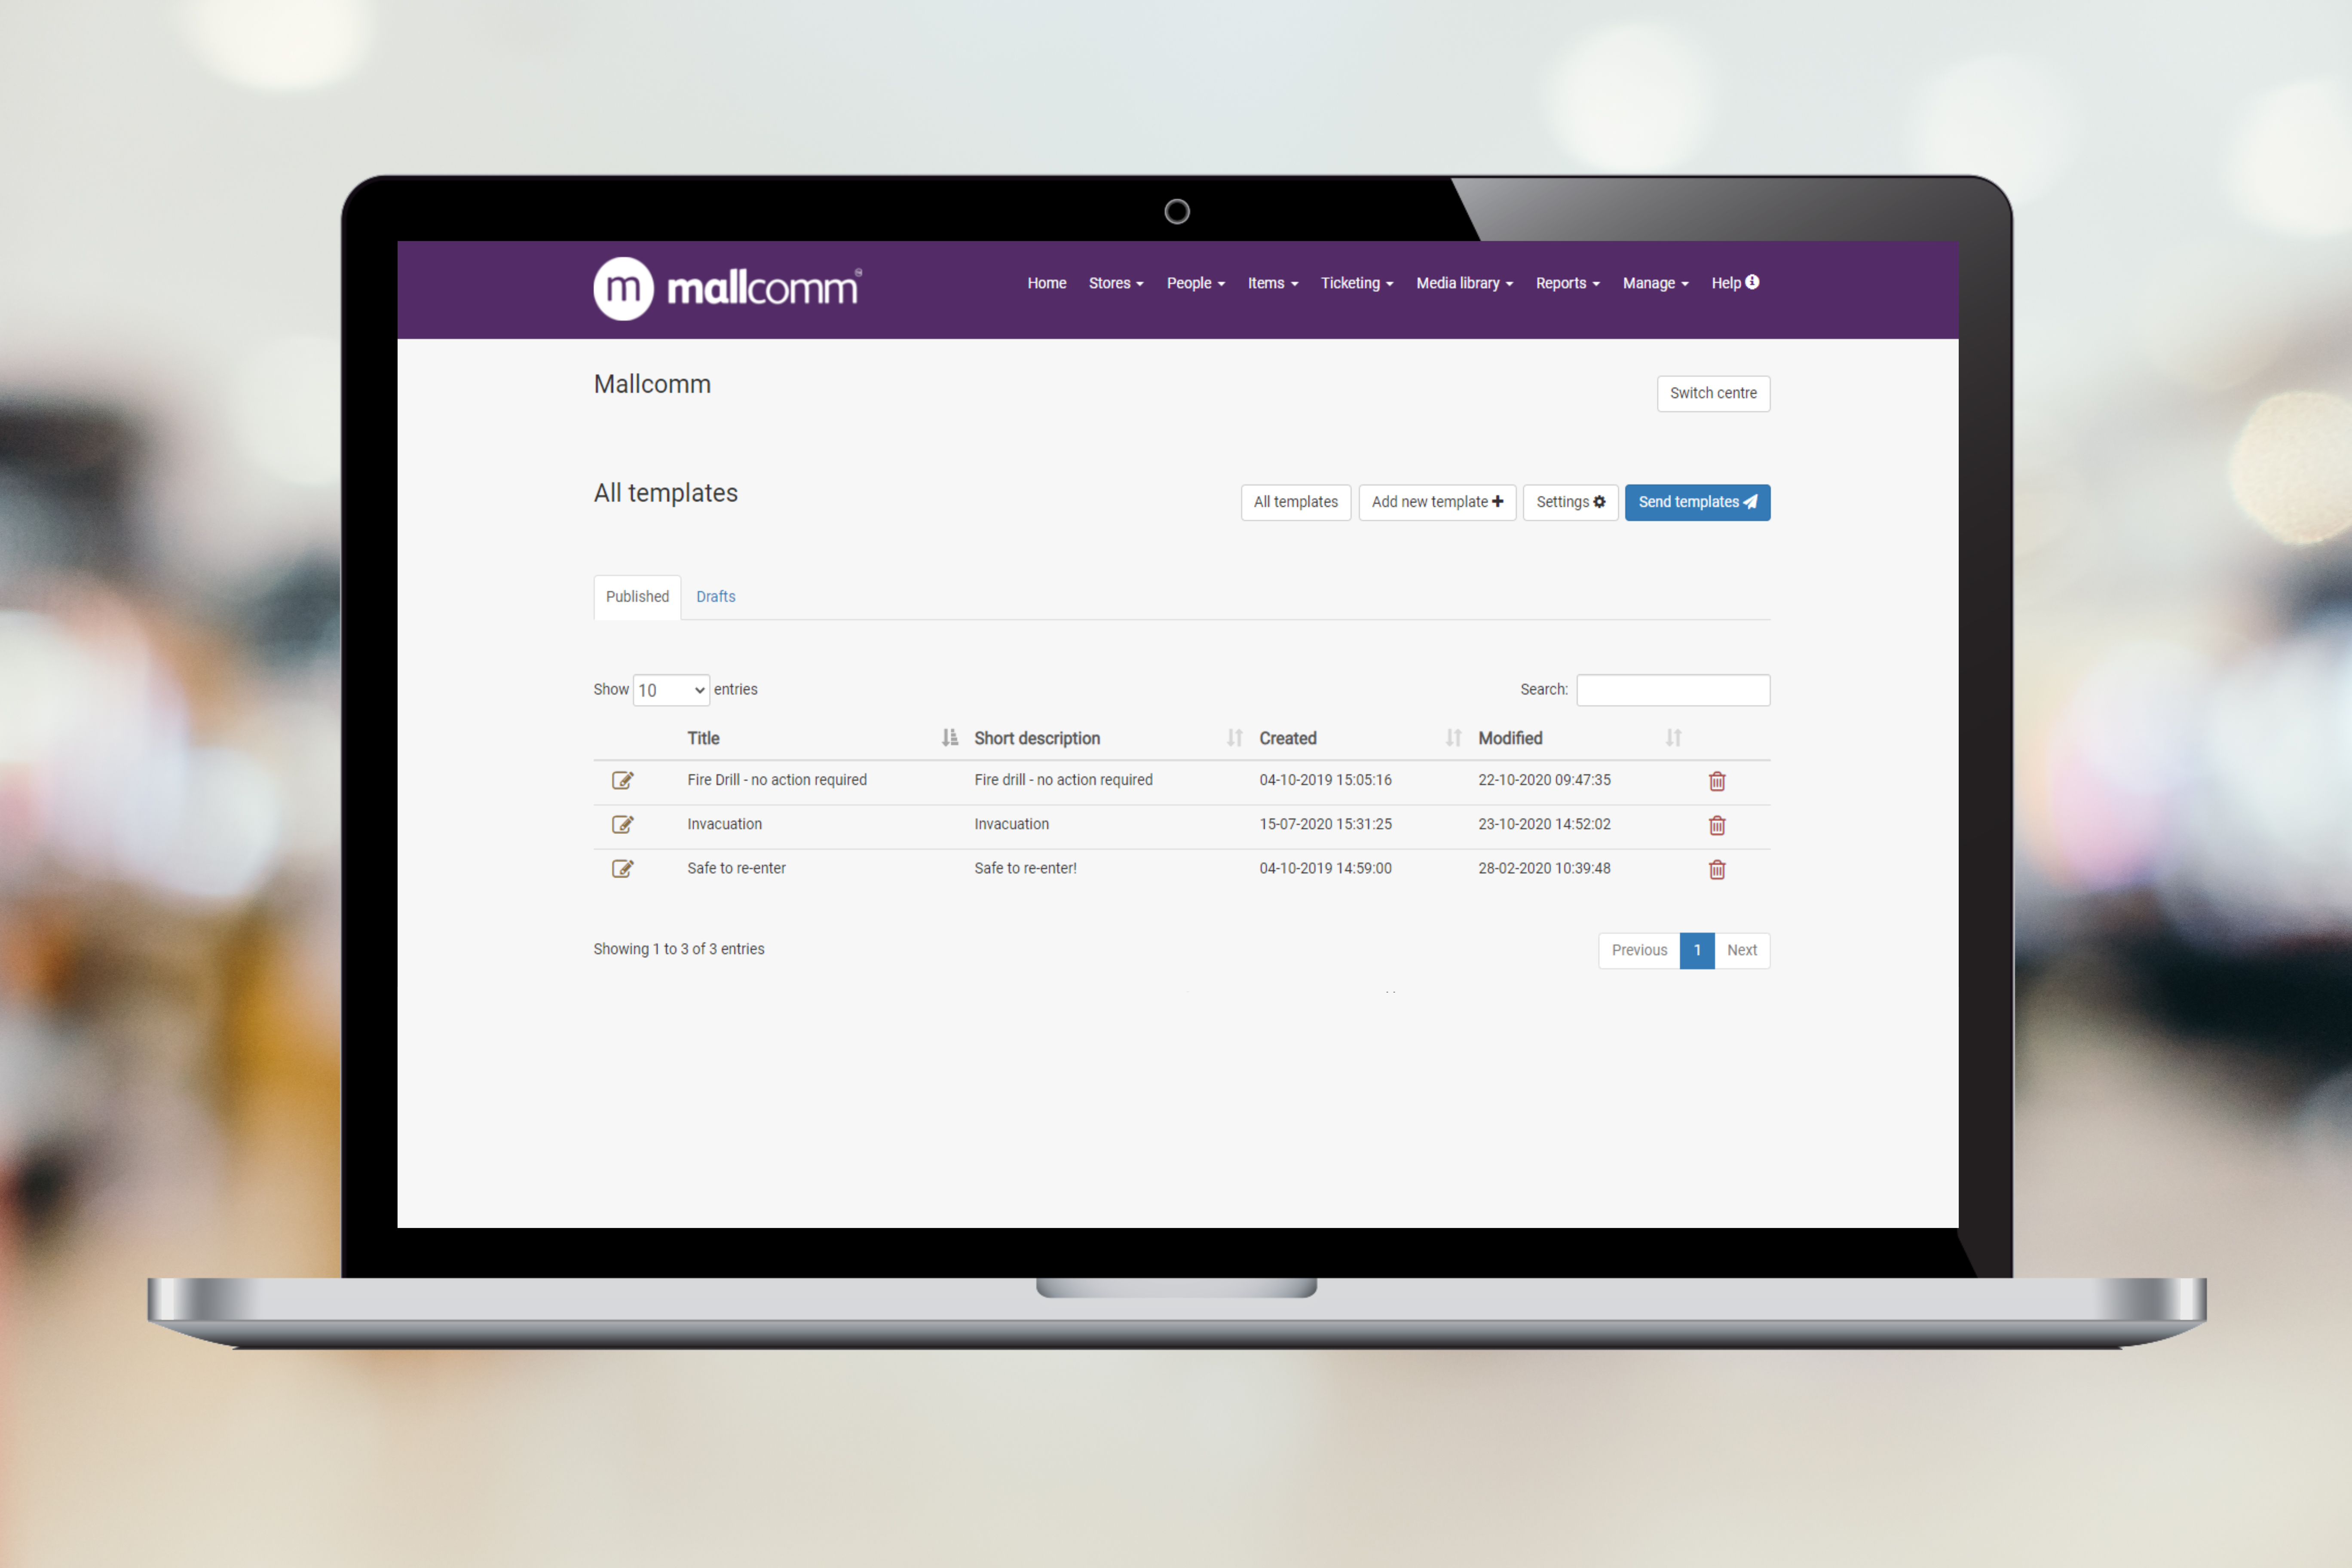
All templates overview
Once you have completed your template, click update and finish and you will be taken to the All Templates screen.
Here you can see a list of all of your templates that have been created and edited if necessary.