
Access Levels are at the heart of so much in Mallcomm, it is one of the key things to understand with regards to ensuring you have complete control over to who can do what within the app. They relate to items, buttons, ticketing, sales collection and so much more.
I like to think of them as groups. Creating an access level is like grouping specific retailers together for the purpose of relevant communication.
However, more than just stores, you can also introduce user roles to you access levels, so you can have groups for staff and management or just management. So for example, if only some of your stores submit sales data, you can set up an access level to send messages only to the store managers of those specific stores.
Another way that access levels are often used is when centres have separate areas, such as fire zones or first floor and second floor. Using access levels you would be able to create access levels for each area to communicate with just a specific location.
Standard Access Levels
During the creation of your centre there will be a number of standard access levels set up for you. These control many of the basic functions of Mallcomm and we recommend that you do not amend these unless you have too.
Creating a new access level
From the Manage drop-down in the top navigation bar select Manage your access levels. Here you will be taken to a screen that shows the ones you already have.
To start with, you’ll need to name your access level at the top of the page and press create.
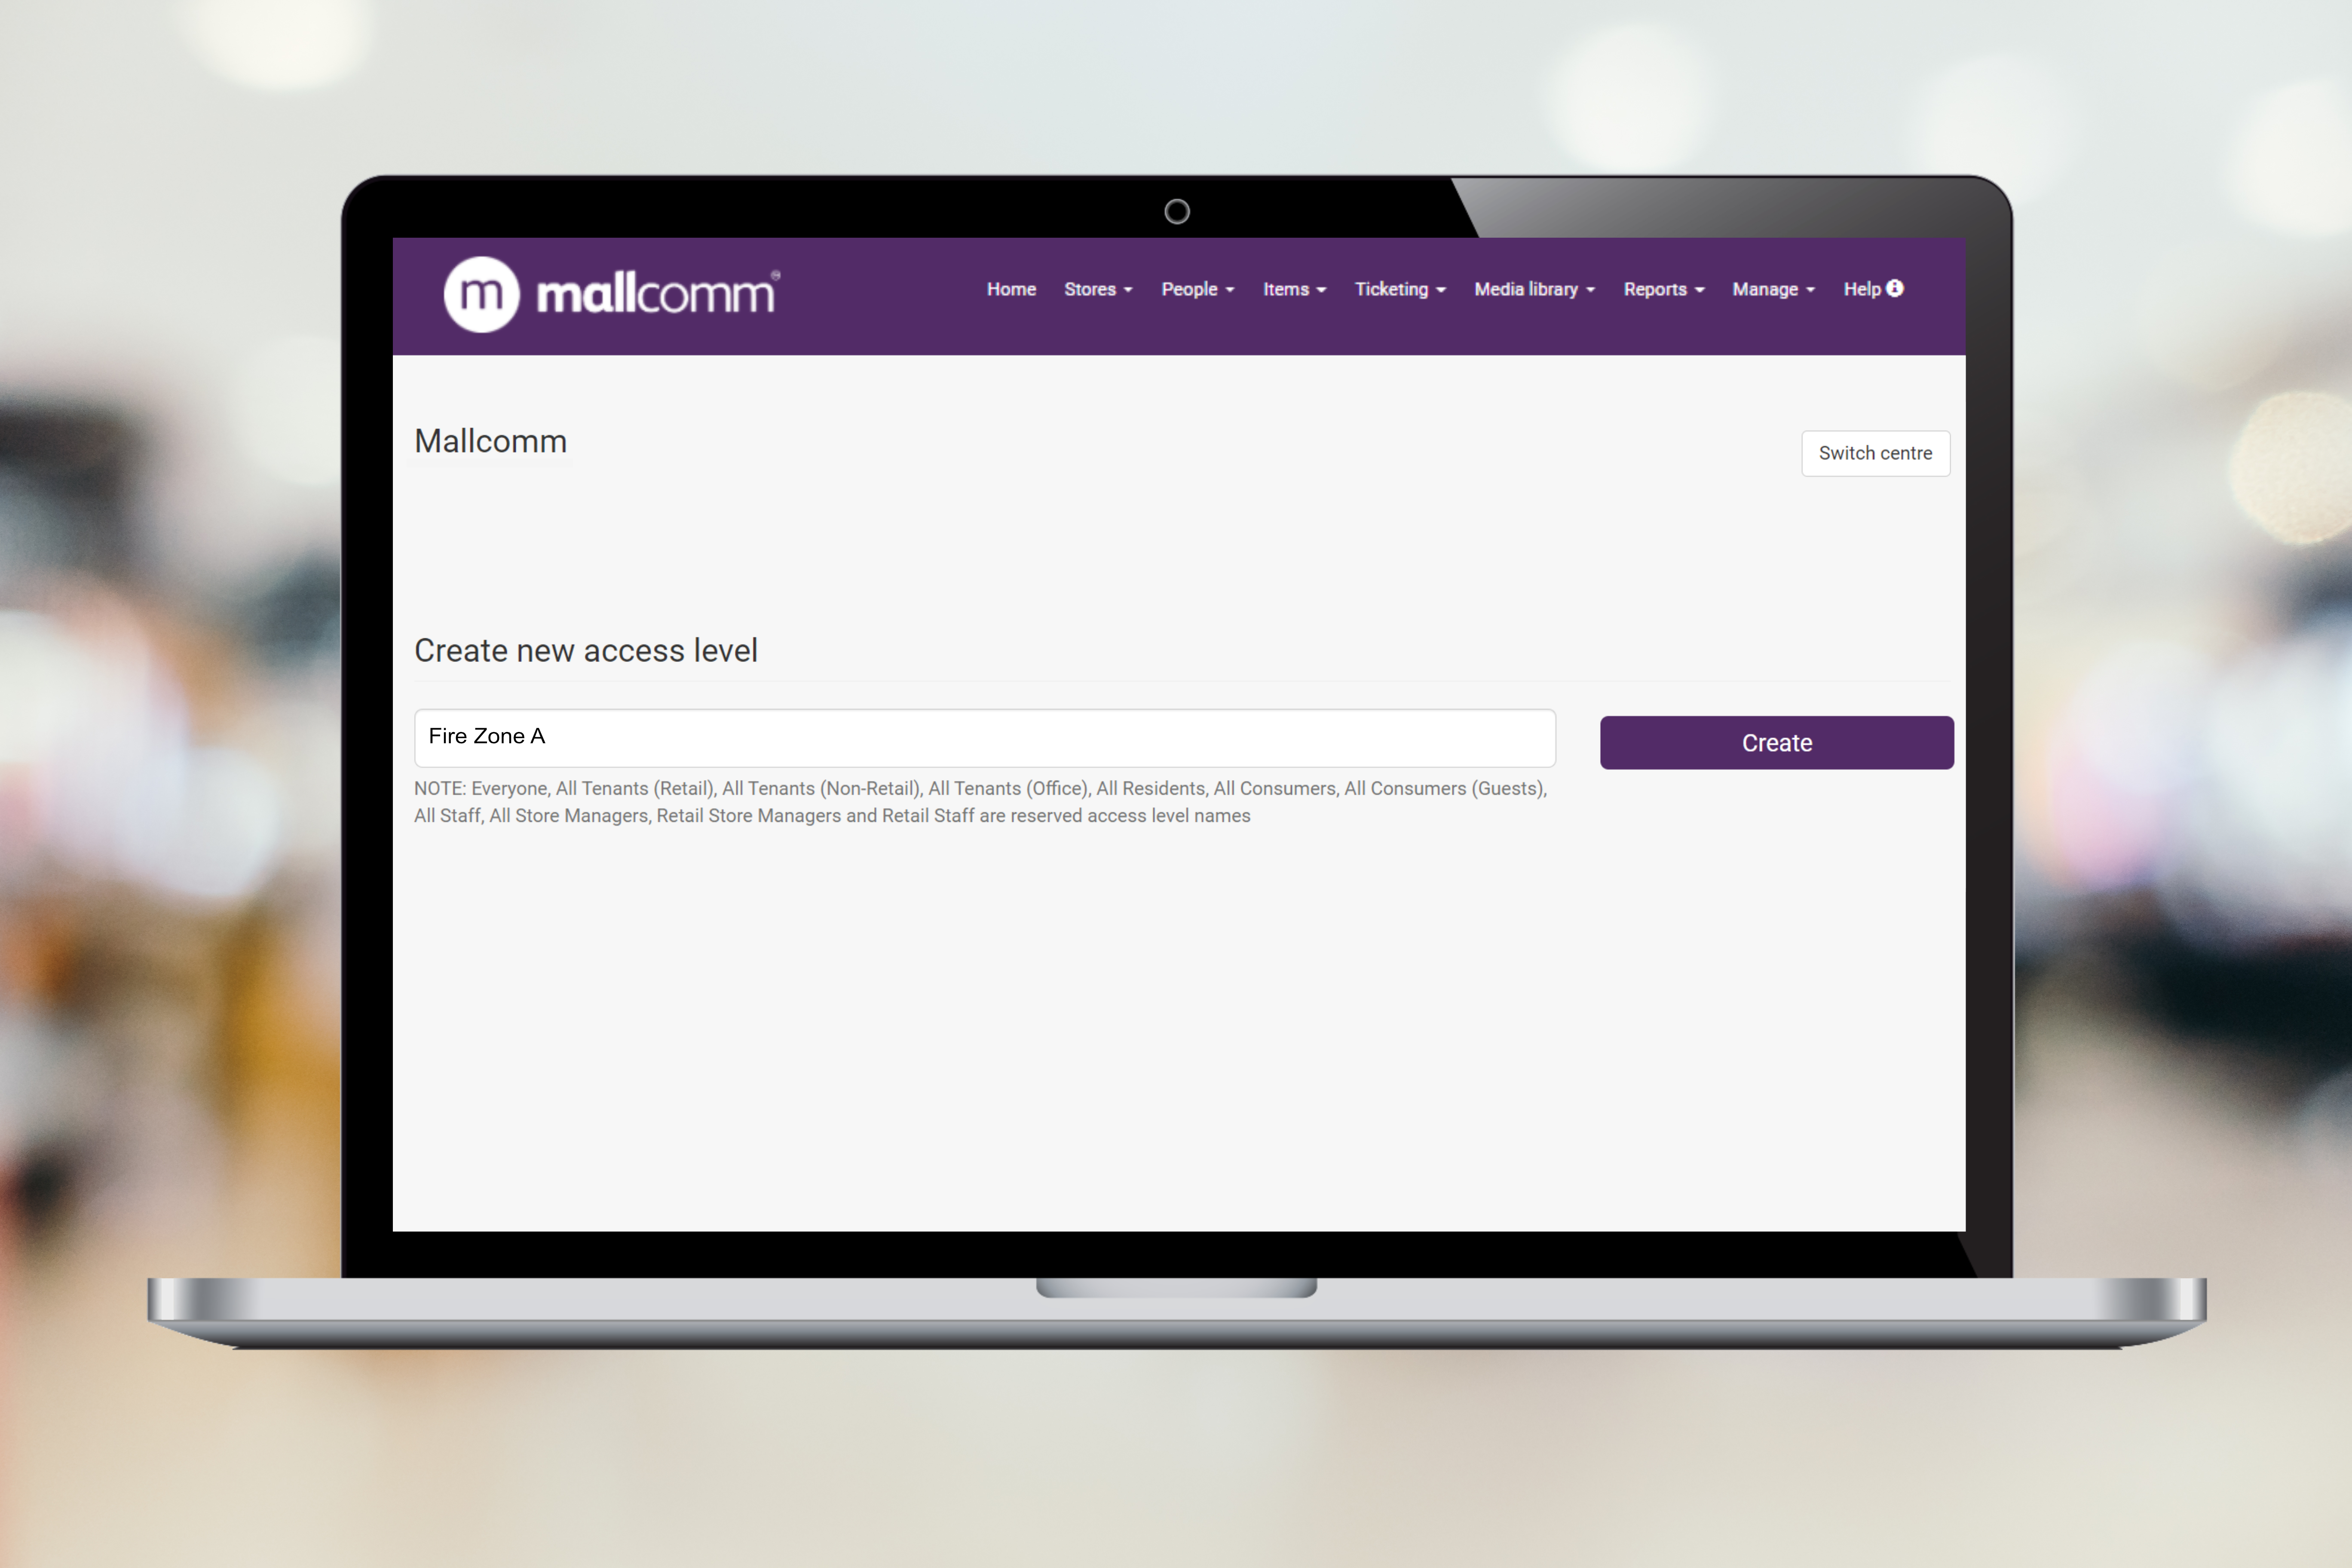
Your access level will now appear in the list underneath. By clicking on the name you will be able to add stores and the specific user roles within that store to the access level.

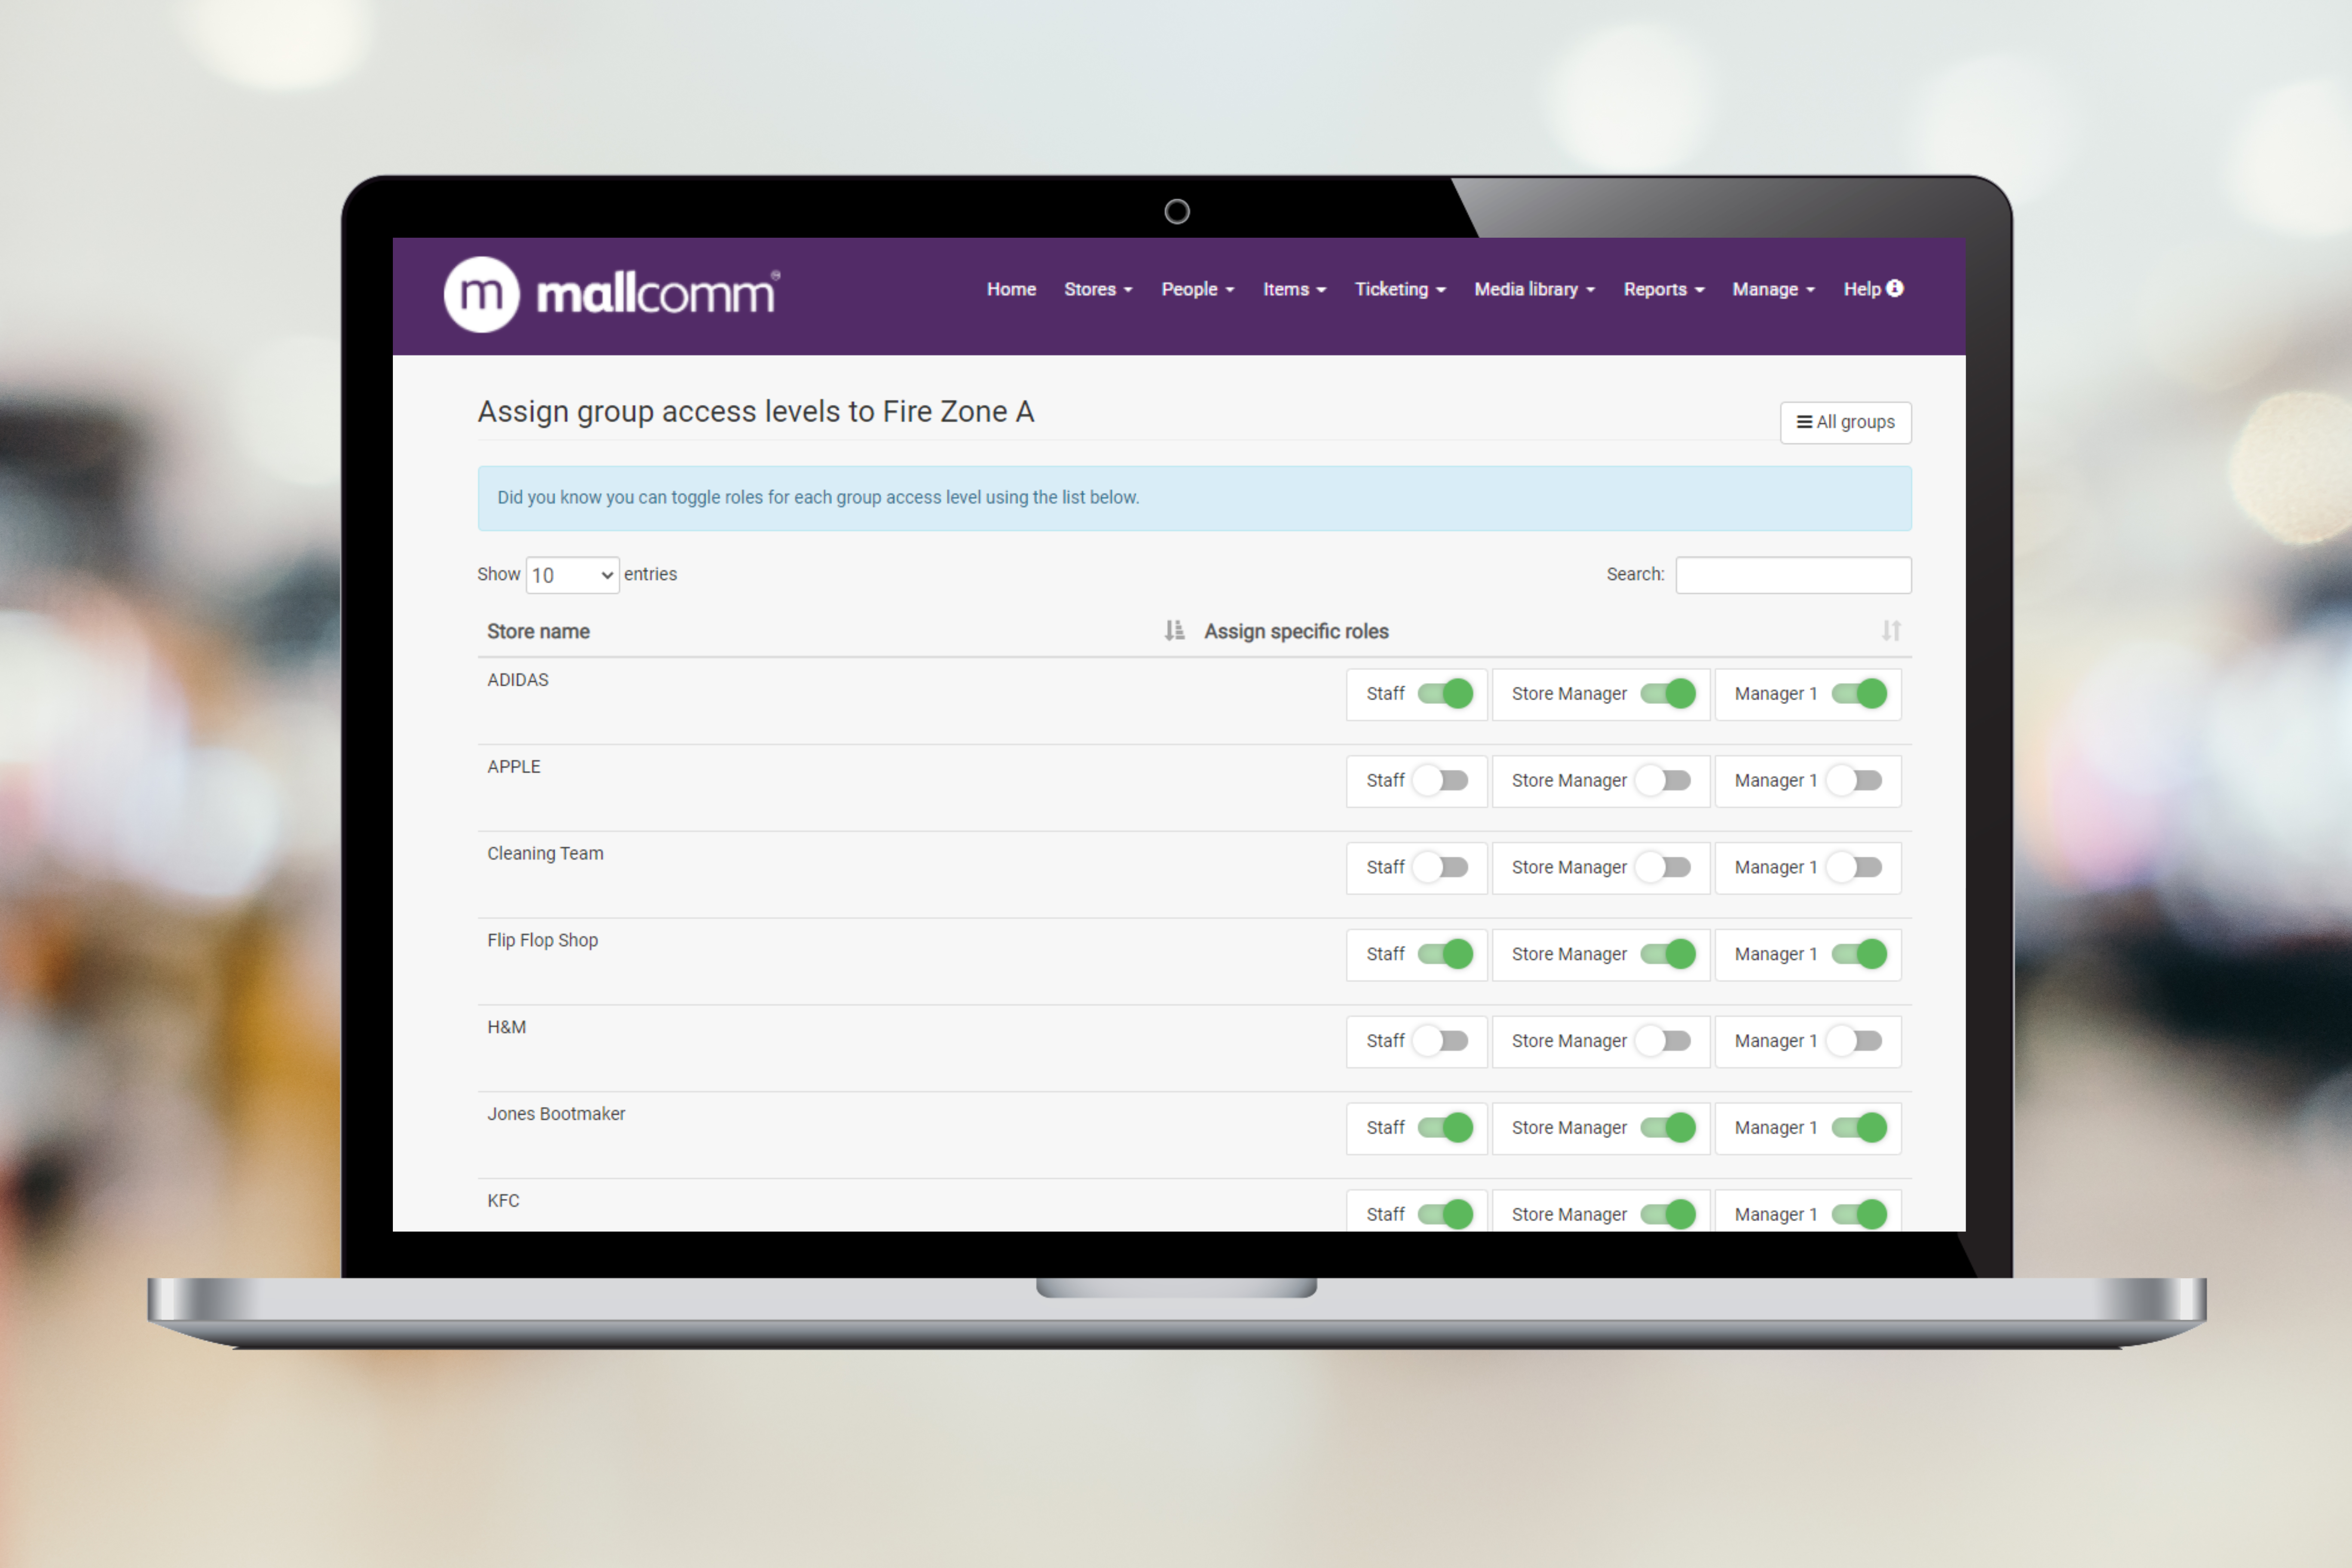
In this example, I am creating one for a fire zone, so I would want all user roles in it. If I just selected Store Manager and Manager 1, then only those roles would see anything assigned to that access level.
Checking which stores and user roles are in an access level
Just click the name of it and you will be able to scroll through and see which user roles are in it. If the slider is green then they are included in the access level.
Adding or removing stores from an access level
As above, by clicking on the name of an access level you will be edit it.